Ru 是AMI 的 James Wang(个人主页http://ruexe.blogspot.tw/)推出的系列工具,其中包括IA32 X64版本的Ru.EFI和一个 Windows 版本的 RU.EXE。最新版本可以在https://github.com/JamesAmiTw/ru-uefi 下载到。
本文简单介绍它的功能和使用。
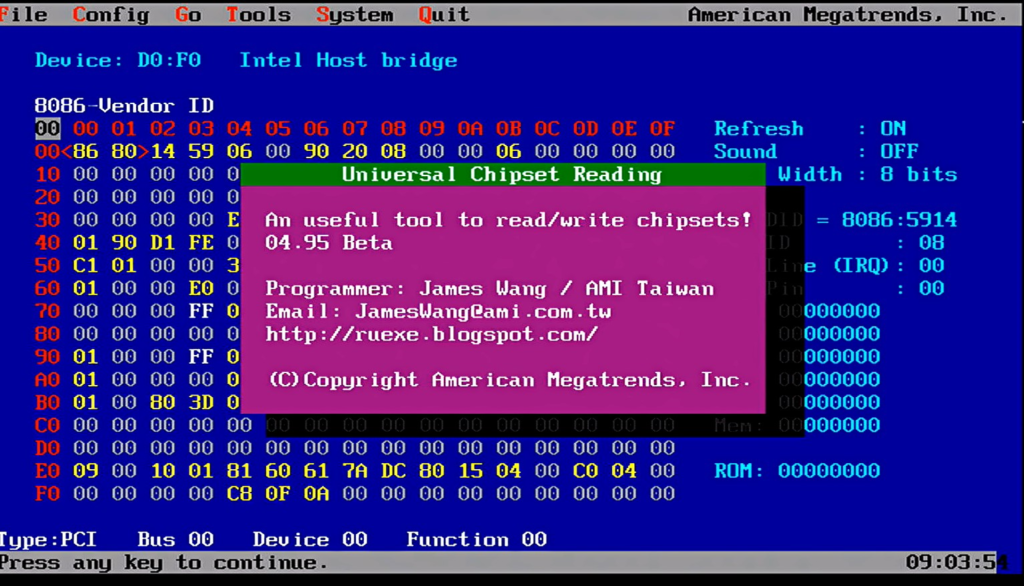
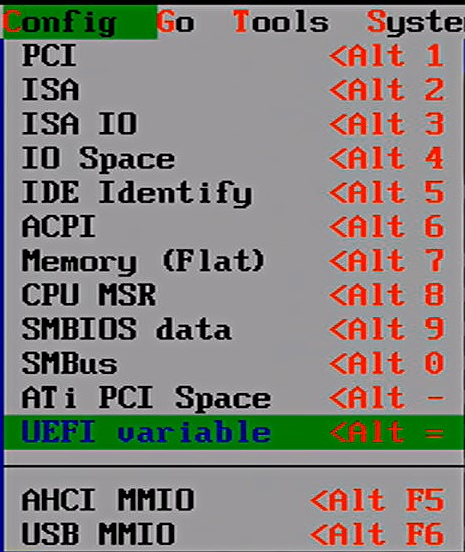
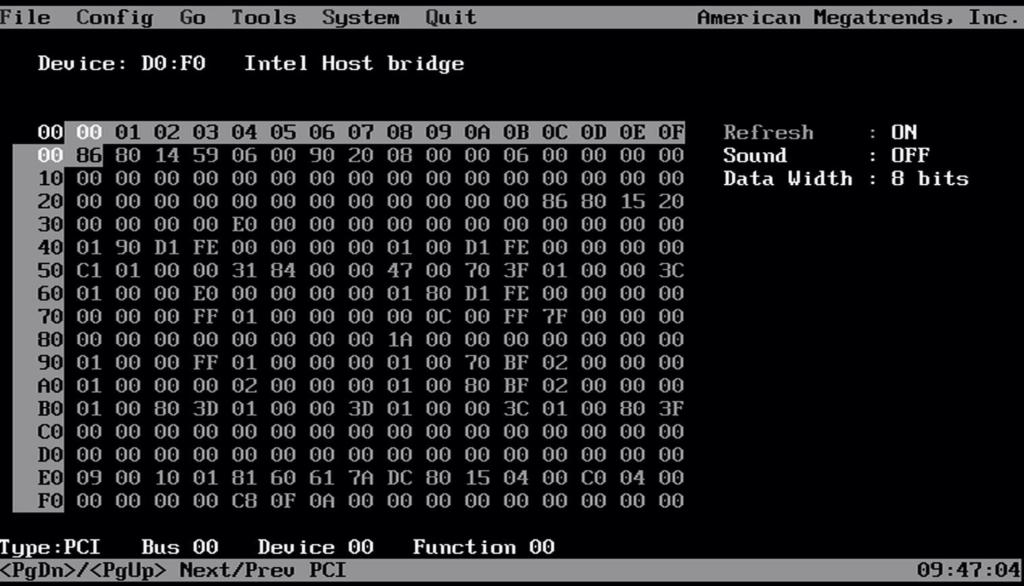
UEFI X64 版本初始界面如下:
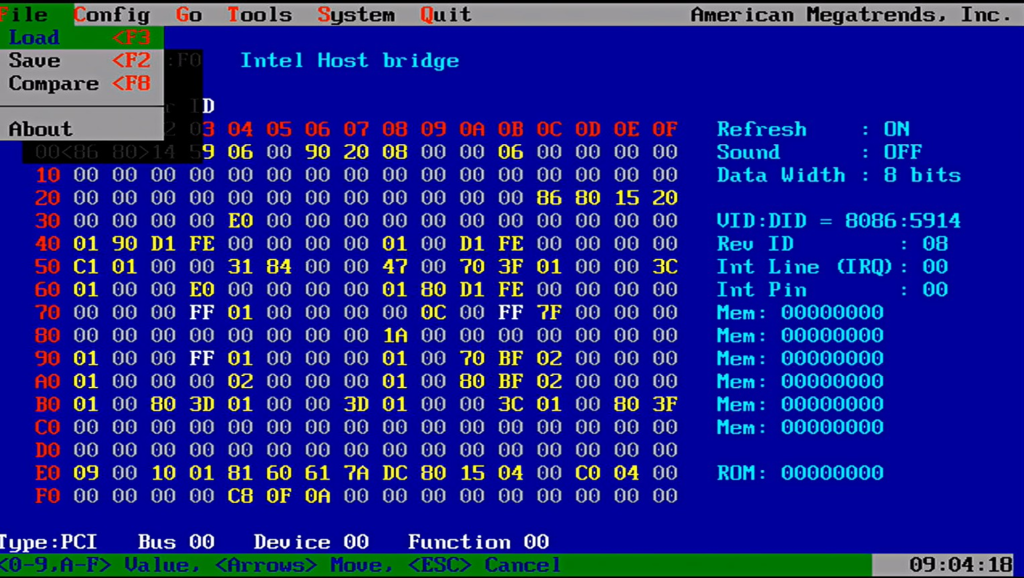
- File 菜单,提供了 Load Save 和 Compare 功能,可以保存和读取当前页面的数据,一般情况下不会使用,主要原因是操作没有 Windows 下方便。
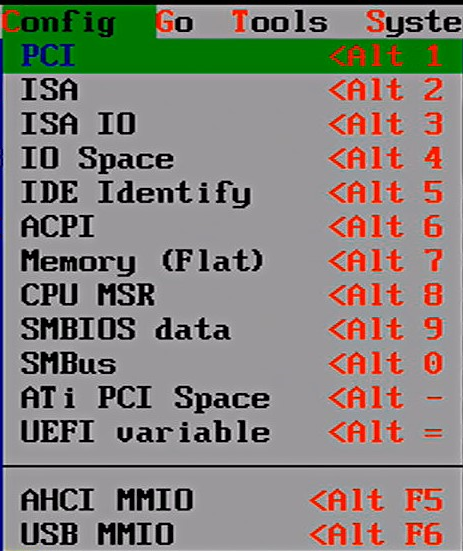
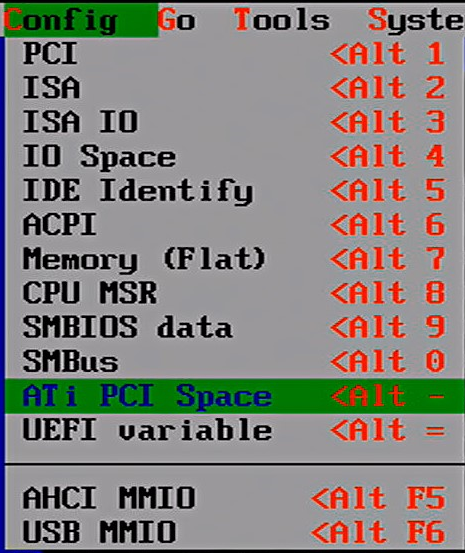
2.Config 菜单用来进行寄存器的访问。
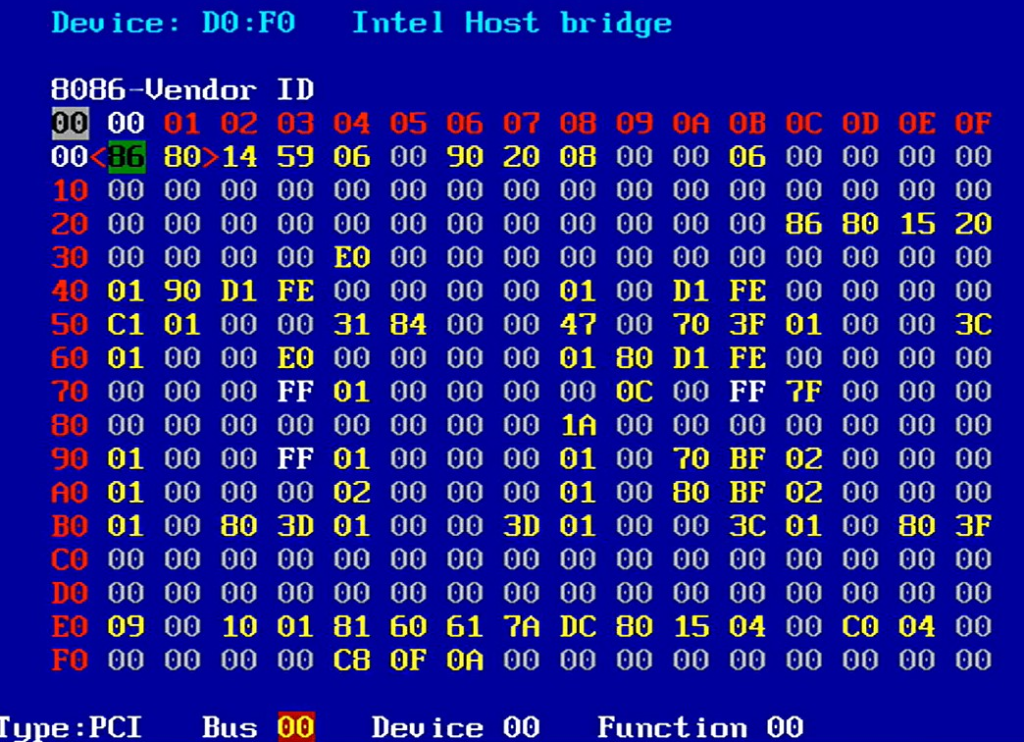
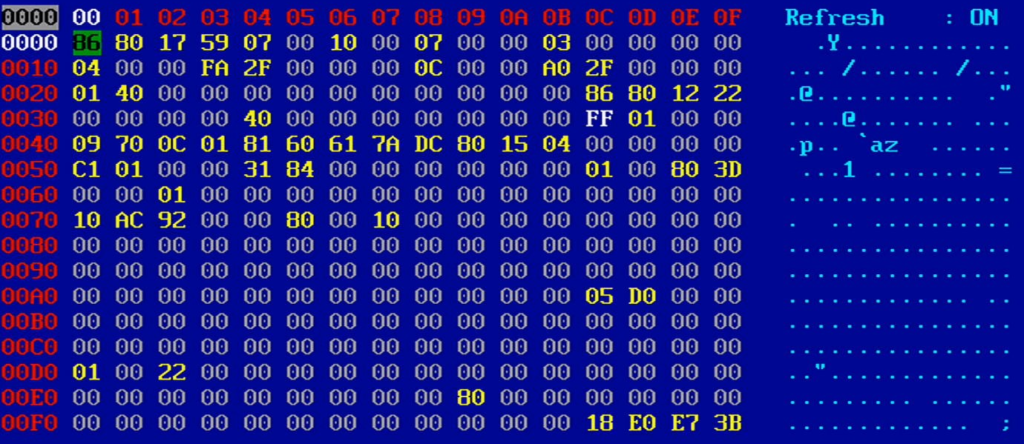
2.1 PCI 可以访问 PCI 设备
选中后输入要查看设备的 Bus Dev Func:
2.2 ISA
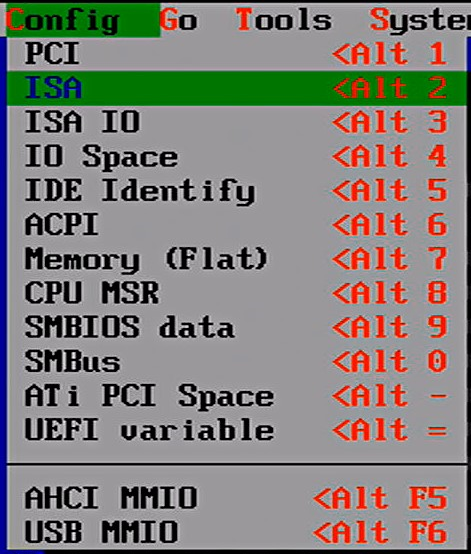
ISA IO是 Index/Data 这种形式的访问IO Port:

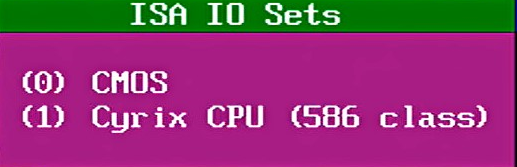
2.3 ISA IO
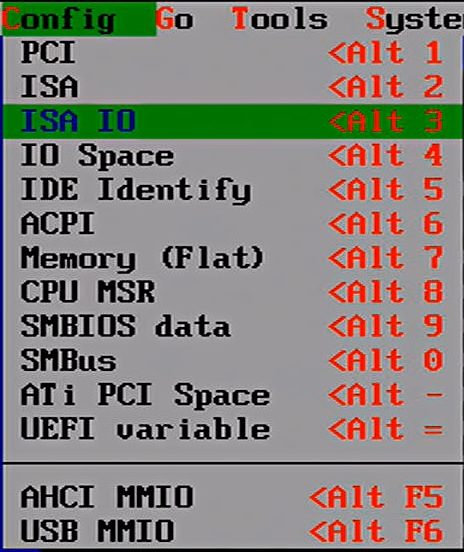
选择之后会出现2个选项让你选择:
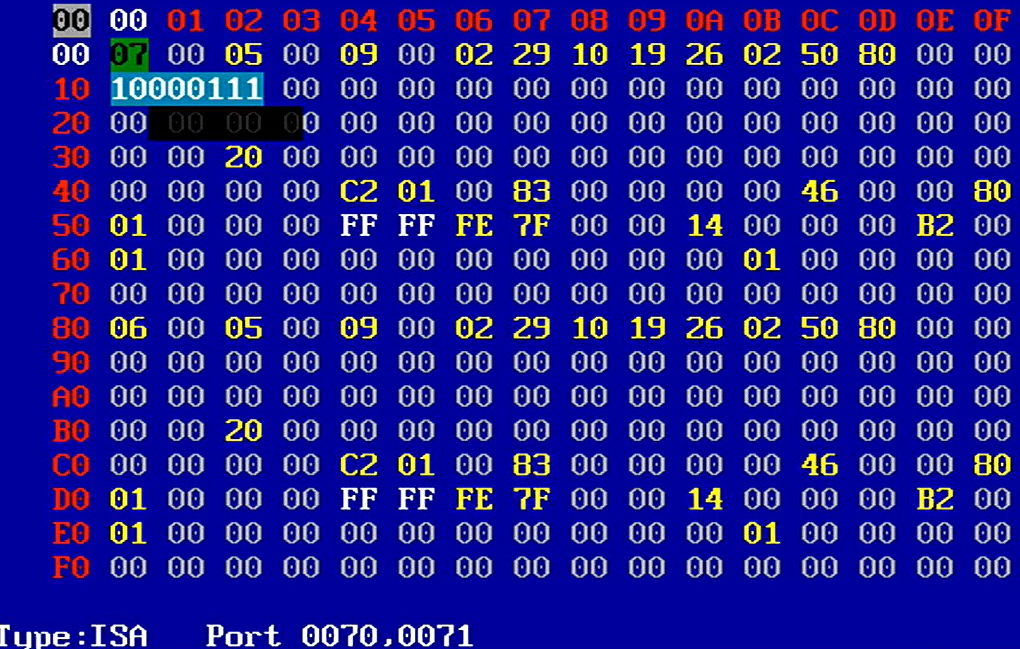
例如,下面是查看 CMOS 的结果。个人感觉这个和上面的 ISA 选项通过手动输入端口号没有差别。
2.4 IO Space
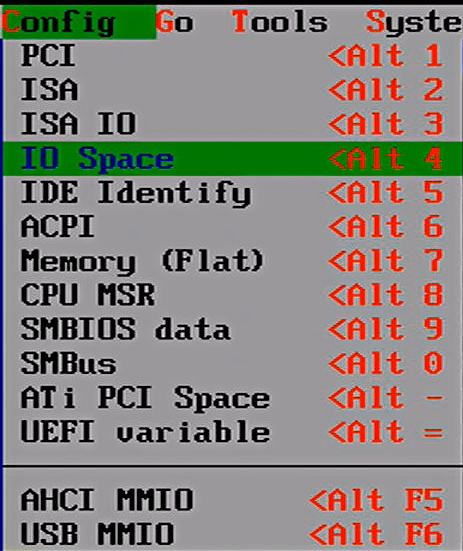
选择后出现额外菜单如下:
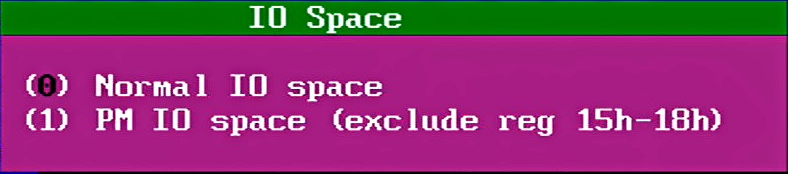
选择 Normal IO Space 后会要求输入要查看的端口。

2.5 IDE Identify。这个功能能够查看当前系统中的SATA接口的硬盘信息(PCIE接口的SSD不行)。
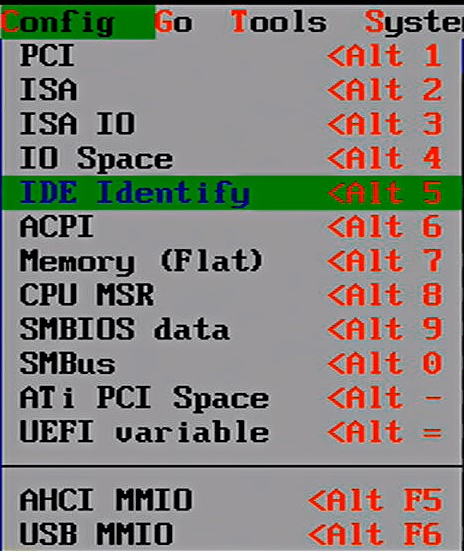
选中后会出现提示继续选择要查看的硬盘。

之后可以查看硬盘信息。
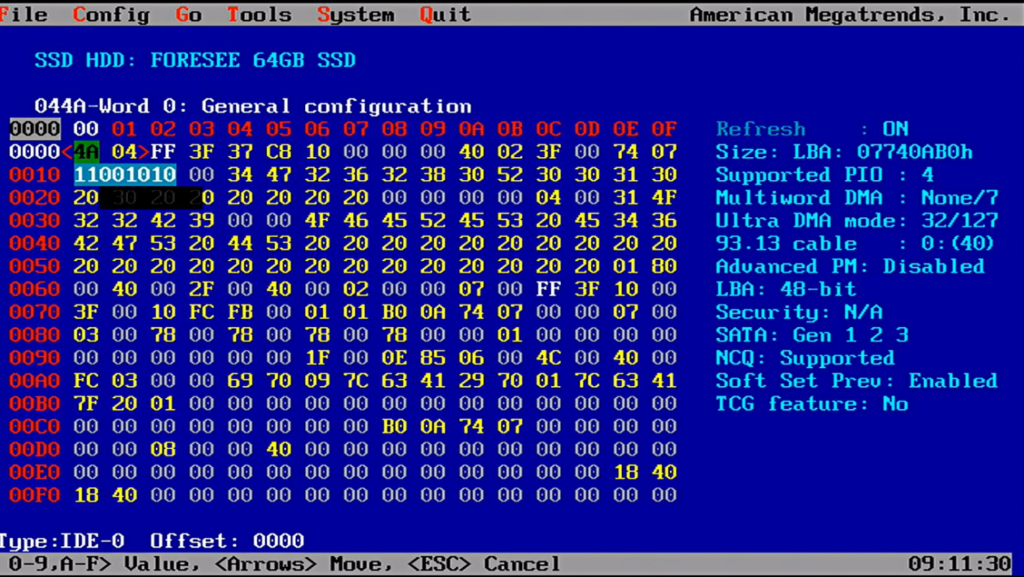
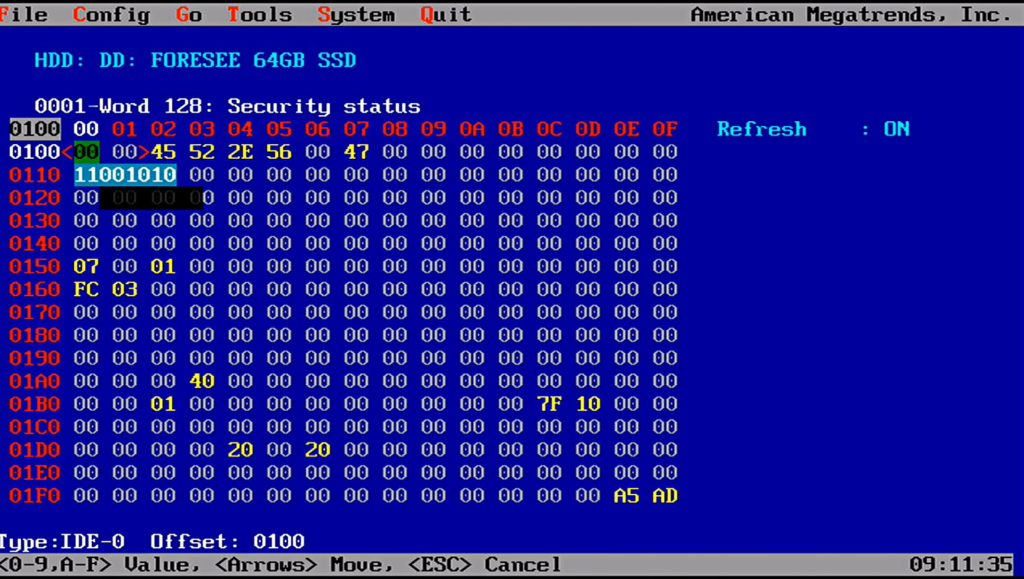
额外说一句:不知道什么原因,这个功能和截图软件(CrScreenshotDxe)有冲突,运行这个功能后,会导致死机。本篇的截图都是使用 HDMI 转 USB 设备完成的。
2.6 ACPI
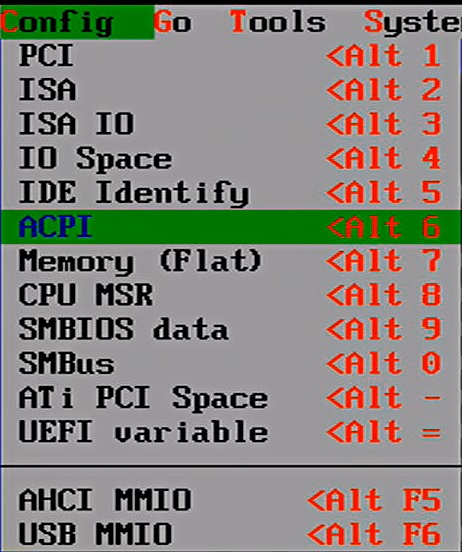
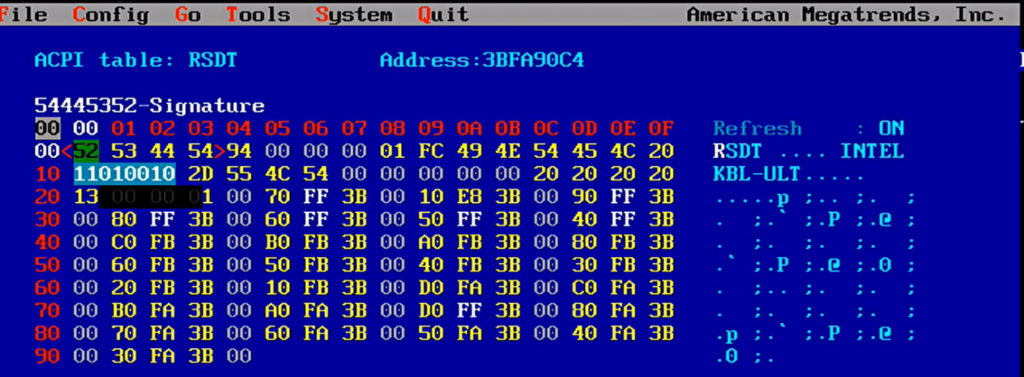
选中后可以看到系统中的 ACPI Table
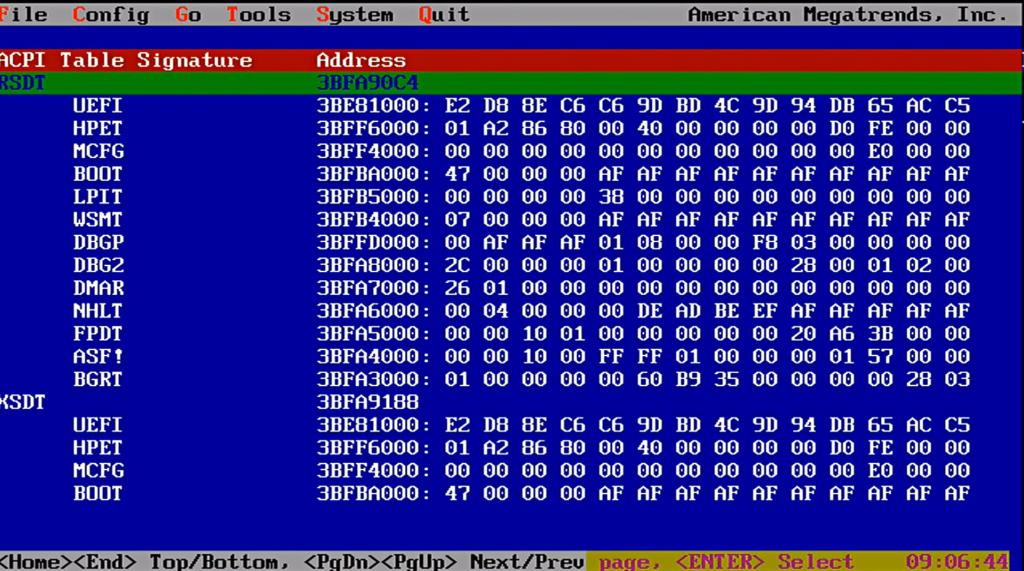
能够查看每一项Table
2.7 Memory (Flat)
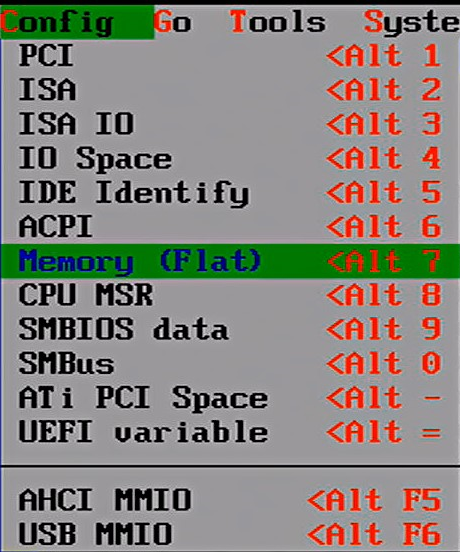
选择这个项目后输入要查看的内存位置即可:
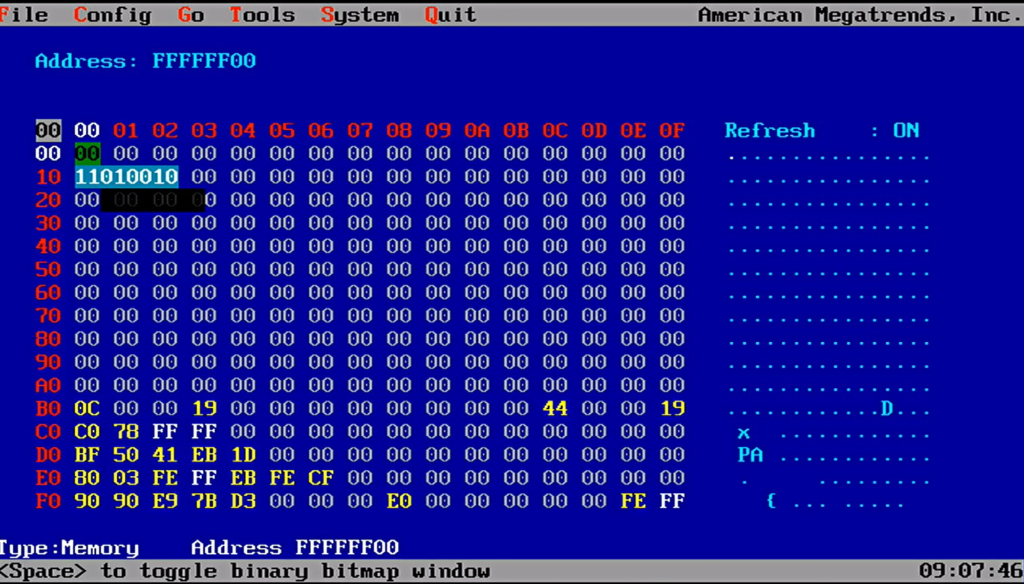
特别注意,目前只支持查看最高 4G的内存。
2.8 CPU MSR
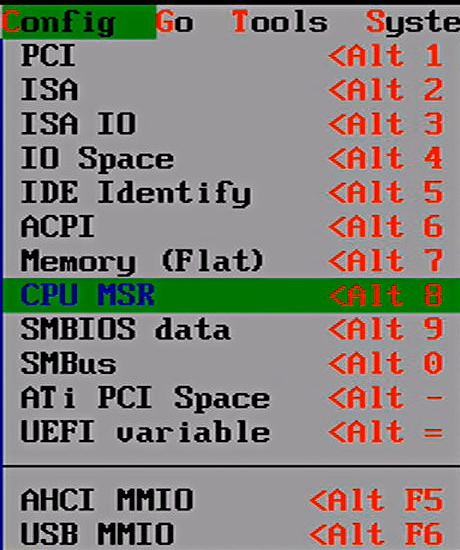
这个功能只能查看固定几个 MSR 的值。并且在我试验的机台上有问题无法正常看到。如果确实有这方面的需求,建议使用 Rw Everything 这样工具。
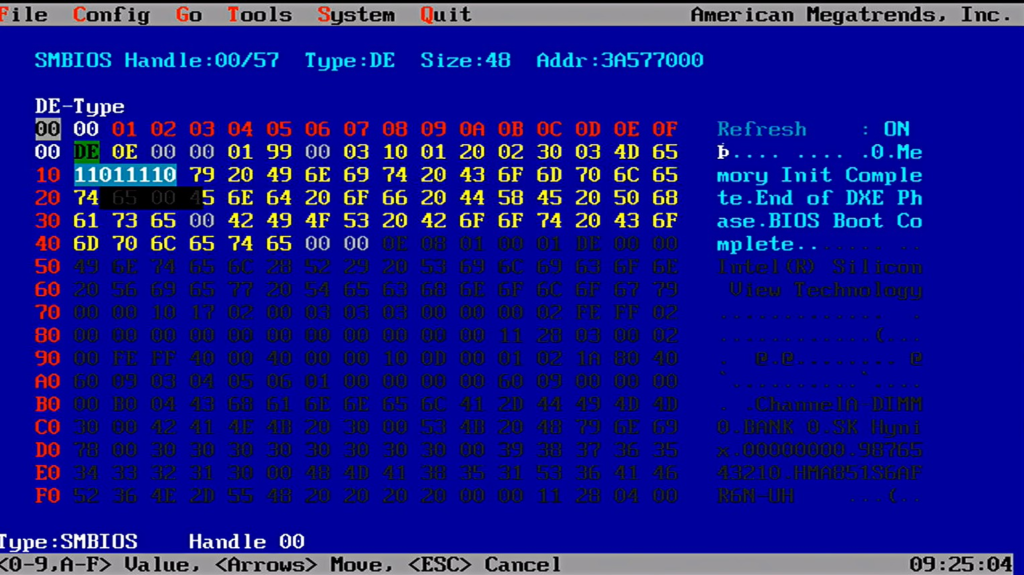
2.9 SMBIOS
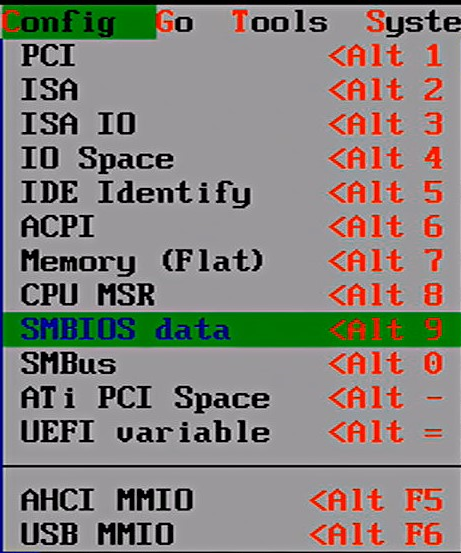
查看本机的SMBIOS:
2.10 SMBus
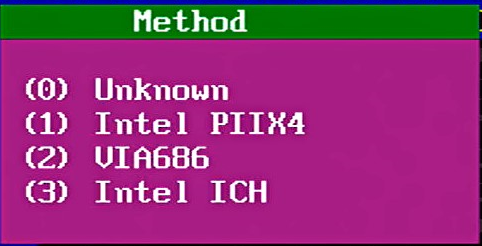
选择这个功能后,会要求选择你的PCH。
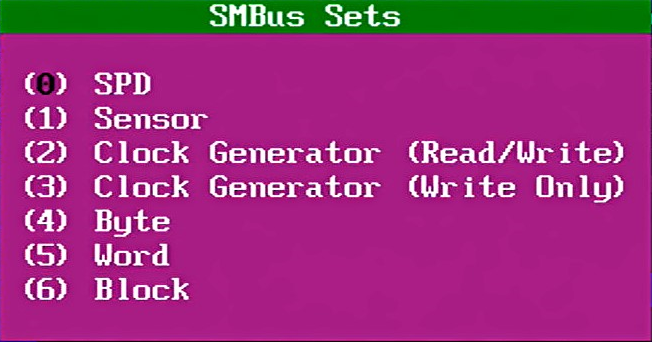
接下来要选择你要查看的设备。
我的测试机台没有SPD,因此没有进一步试验。
2.11 ATi PCI Space
因为目前没有 ATI 主板所以没有进行试验。
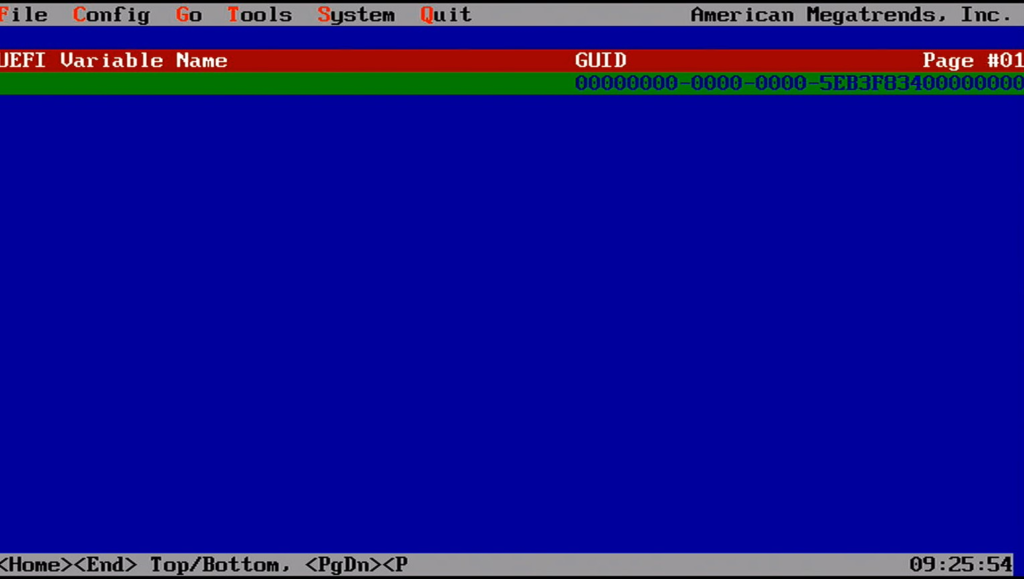
2.12 UEFI variable
这个功能可以用来查看 UEFI 的变量,感觉上似乎不太准,推荐用 Shell 下的命令直接进行查看。
2.13 AHCI MMIO
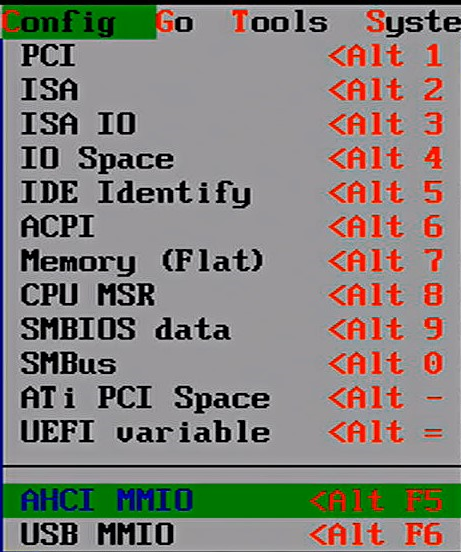
这个功能在我的Kabylake-U 上无法工作,死机。
2.14 USB MMIO
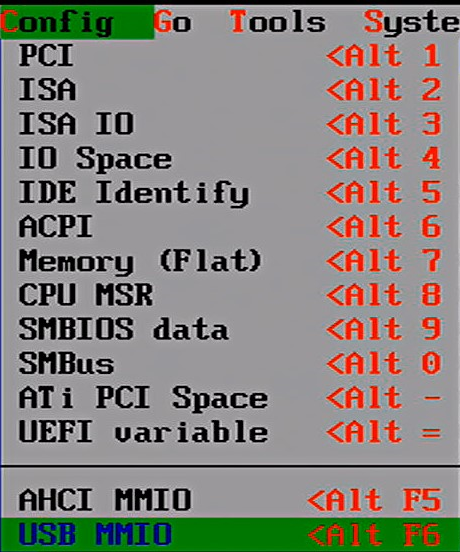
这个功能这个功能在我的Kabylake-U 上无法工作,调不出来。
3.Go 菜单。
3.1 Next 切换
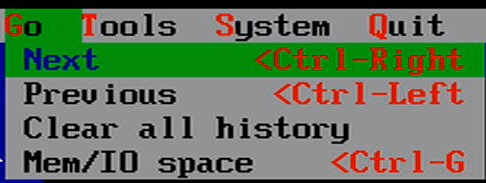
查看下一个项目,比如:当前显示的是 PCI Bus0 Dev0 FunC 0,那么下一个设备是 Bus:0 Dev 0 Func 2。
3.2 Previous 切换
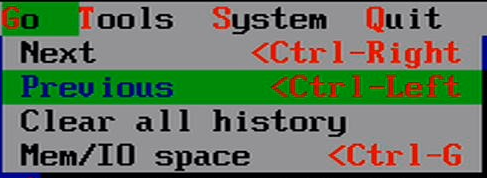
查看上一个项目。
3.3 Clear all history
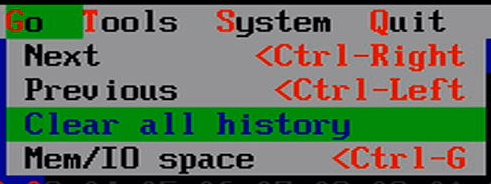
不知道什么意思
3.4 Mem/IO space
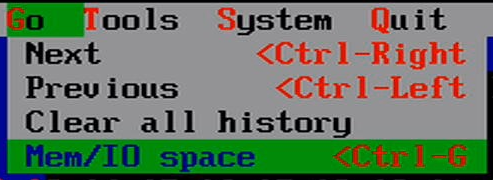
不知道什么意思。
4. Tools 菜单
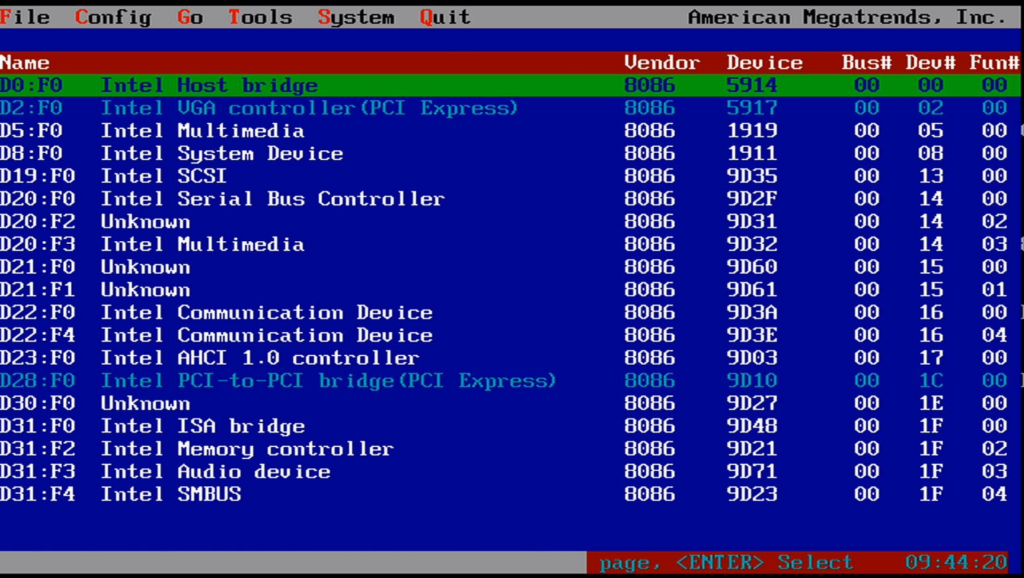
4.1 List PCI devices
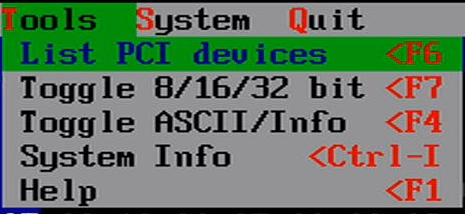
这个选项能够列出当前系统中的全部 PCI 设备,快捷键是 F6。
4.2 Toggle 8/16/32 bit
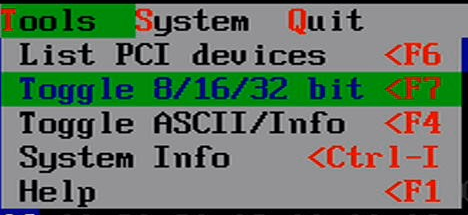
使得当前界面在 1Byte 2Bytes 4bytes 显示之间切换,快捷键是 F7 。在查看寄存器时是很有用的功能。
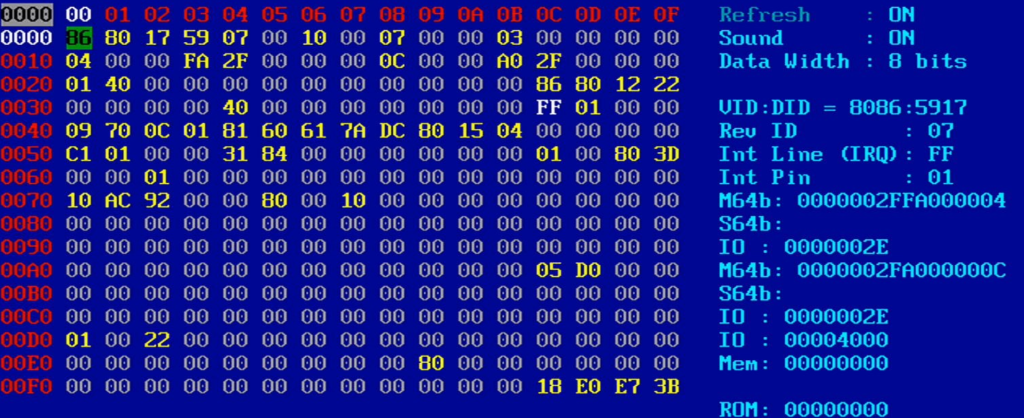
4.2 Toggle ASCII/Info
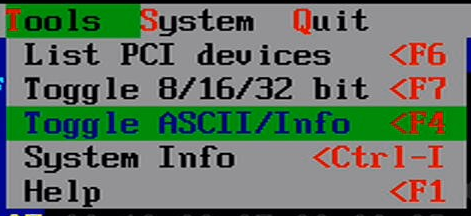
切换界面在 ASCII显示和信息显示模式切换,快捷键为 F4。例如:当前是ASCII显示模式
切换为信息显示模式:
4.3 System Info
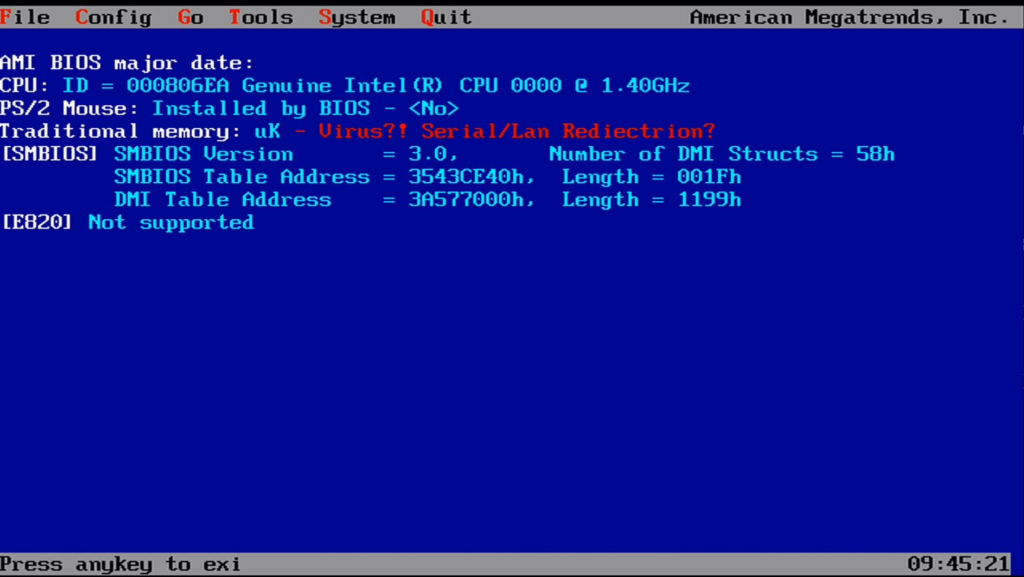
显示当前系统基本信息
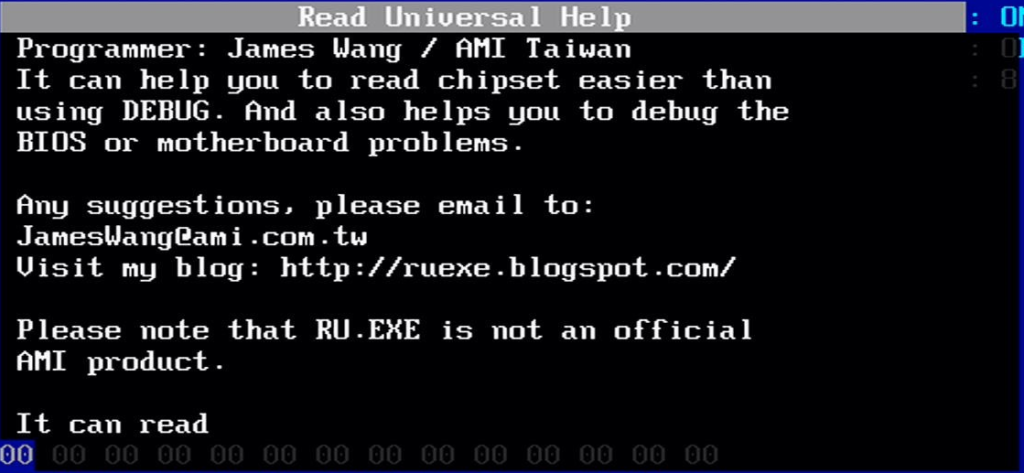
4.4 Help
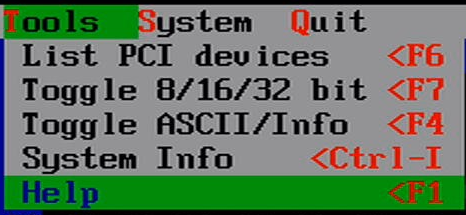
显示帮助信息
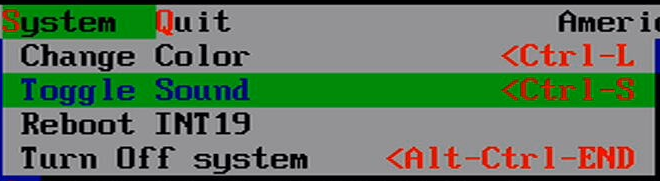
5.System Group
5.1 Change Color
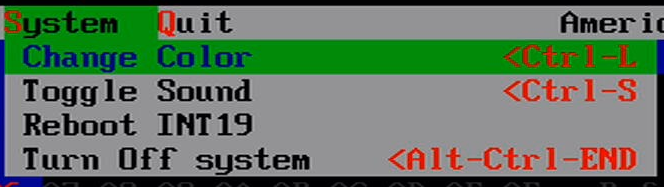
切换界面配色
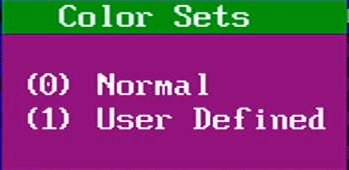
通常看到的是 Normal 模式,User Defined 是黑白的
5.2 Toggle Sound
我的主板上没有 Beeper 所以不得而知是否有效果
5.3Reboot INT19
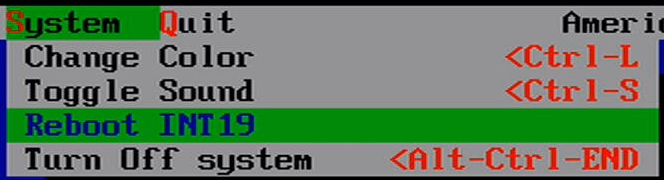
通过 INT19 启动下一个设备,对于 UEFI 是无效的
5.4 Turn Off system
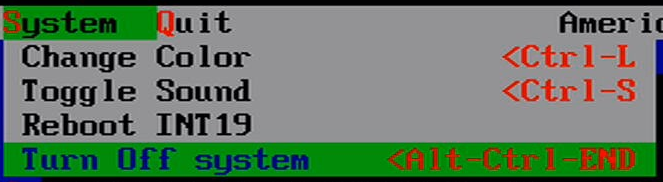
关机,在 UEFI 下是无效的
6.Quit 退出 RU
从上面也可以看到,对于 X86 来说,访问硬件信息需要的基本操作有:
1. PCI 信息的访问
2. 访问IO Port 直接访问
3. IO Port Index/Data 方式的访问
4. Memory 的访问
5. Memory Index/Data 方式的访问
6. MSR 的访问
掌握了上述的访问方法就可以触碰到 X86 上的全部空间和寄存器了。
请教下ISA 中的 Index/Data指的是什么,能举例子说明下吗,thanks
比如 cmos 的 70h 71h ,其中 70h 是 index, 放入需要访问的位置,然后 71h 输出要读取或者写入的 data
那个,您好,GPIO寄存器怎么看,还有配置
每一代 Intel Chipset GPIO 都是通过访问内存的方式进行 GPIO 设定的,但是访问方法不同,具体你要问BIOS工程师。
您好,软件带密码,博客打不开,如果我想要使用这个软件是不是无解了。。。。。好无奈
博客打不开的原因是需要翻墙才能访问。
博主 选择上面那一行菜单是那个键呀??
按住alt 然后加字母,比如: alt+f 是 File 菜单
哦哦 谢谢 了解了
这工具能解除Phoenix BIOS的刷写保护吗
您好,想请教一下RU有没有相对应的源代码呀,想参考学习一下
这个软件不是我写的,作者也没有开源的。