C++中使用关键字 class 来定义类, 其基本形式如下:
class 类名
{
public:
//行为或属性
protected:
//行为或属性
private:
//行为或属性
};
有一种比较特别的函数,被称为“构造函数”,名称和类名称相同。在创建类的对象时,编译器就运行一个构造函数。
设计一个Time类如下,其中有2个构造函数,其中是一个是构造函数的重载。如果在创建过程中有加参数,那么会调用重载之后的构造函数。
class Time {
public:
	Time() {//构造函数
		_hour = 9;
		_min = 17;
		_sec = 20;
		gSystemTable->ConOut->OutputString(gSystemTable->ConOut, u"Time init1\n\r");
	}
	Time(int hour,int min,int sec){//对构造函数的重载
        _hour=hour;
        _min=min;
        _sec=sec;
		gSystemTable->ConOut->OutputString(gSystemTable->ConOut, u"Time init2\n\r");
    }
	void Print() {
		printInt(gSystemTable->ConOut,_hour);
		printInt(gSystemTable->ConOut,_min);
		printInt(gSystemTable->ConOut,_sec);
		gSystemTable->ConOut->OutputString(gSystemTable->ConOut, u"\n\r");
	}

private:
	int _hour;
	int _min;
	int _sec;
};
完整代码如下:
#include <UEFI/UEFI.h>
#include <type_traits>

#define EFI_ERROR(status) ((status) != EFI_SUCCESS)

EFI_SYSTEM_TABLE* gSystemTable;


void printInt(EFI_SIMPLE_TEXT_OUTPUT_PROTOCOL* conOut, int value) {
	CHAR16 out[32];
	CHAR16* ptr = out;
	static_assert(std::is_unsigned_v<char16_t>);
	if (value == 0)
	{
		conOut->OutputString(conOut, u"0");
		return;
	}

	ptr += 31;
	*--ptr = 0;
	int tmp = value;// >= 0 ? value : -value;

	while (tmp)
	{
		*--ptr = '0' + tmp % 10;
		tmp /= 10;
	}

	if (value < 0) *--ptr = '-';
	conOut->OutputString(conOut, ptr);
}


class Time {
 public:
	Time() {//构造函数
		_hour = 9;
		_min = 17;
		_sec = 20;
		gSystemTable->ConOut->OutputString(gSystemTable->ConOut, u"Time init1\n\r");
	}
	Time(int hour,int min,int sec){//对构造函数的重载
        _hour=hour;
        _min=min;
        _sec=sec;
		gSystemTable->ConOut->OutputString(gSystemTable->ConOut, u"Time init2\n\r");
    }
	void Print() {
		printInt(gSystemTable->ConOut,_hour);
		printInt(gSystemTable->ConOut,_min);
		printInt(gSystemTable->ConOut,_sec);
		gSystemTable->ConOut->OutputString(gSystemTable->ConOut, u"\n\r");
	}

private:
	int _hour;
	int _min;
	int _sec;
};

EFI_STATUS
efi_main(EFI_HANDLE /*image*/, EFI_SYSTEM_TABLE* systemTable)
{
	EFI_SIMPLE_TEXT_OUTPUT_PROTOCOL* conOut = systemTable->ConOut;
	gSystemTable=systemTable;

	Time time1;
	Time time2(1,2,3);

	return EFI_SUCCESS;
}
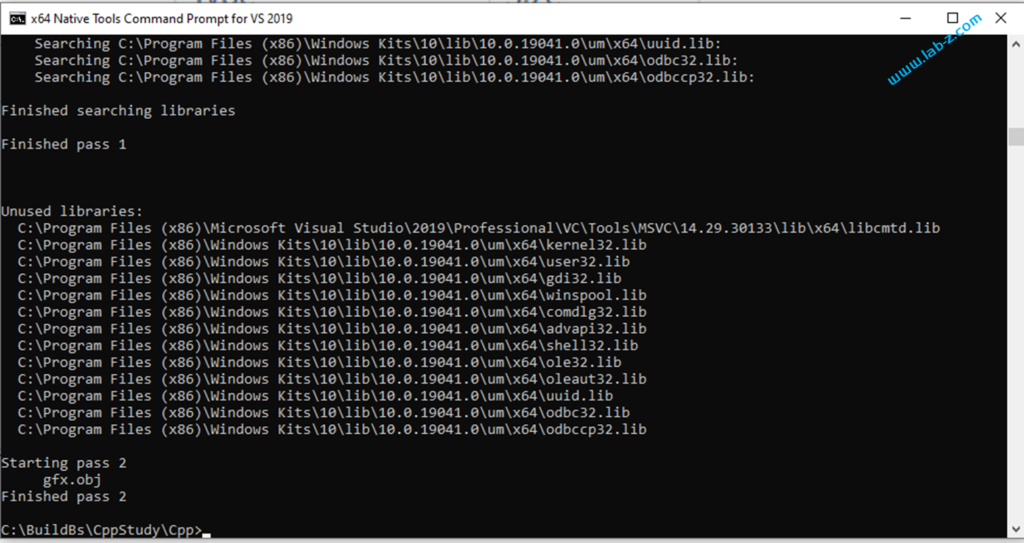
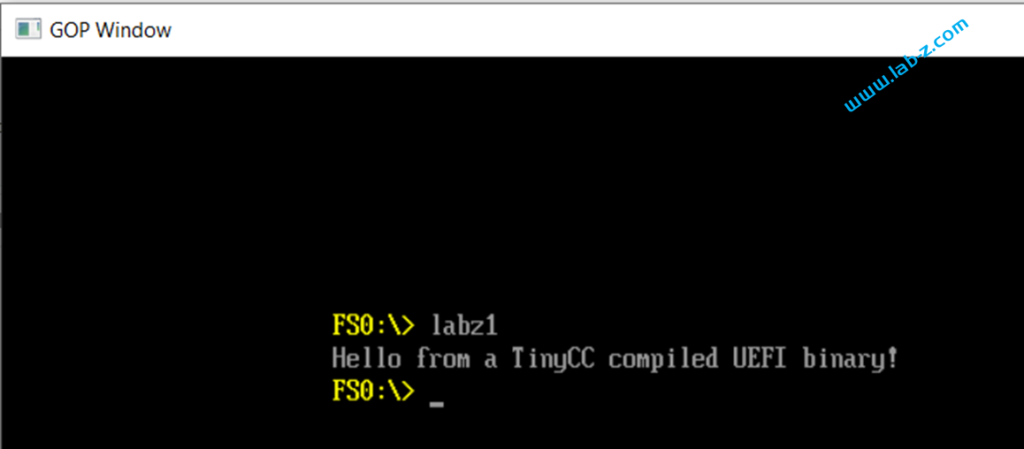
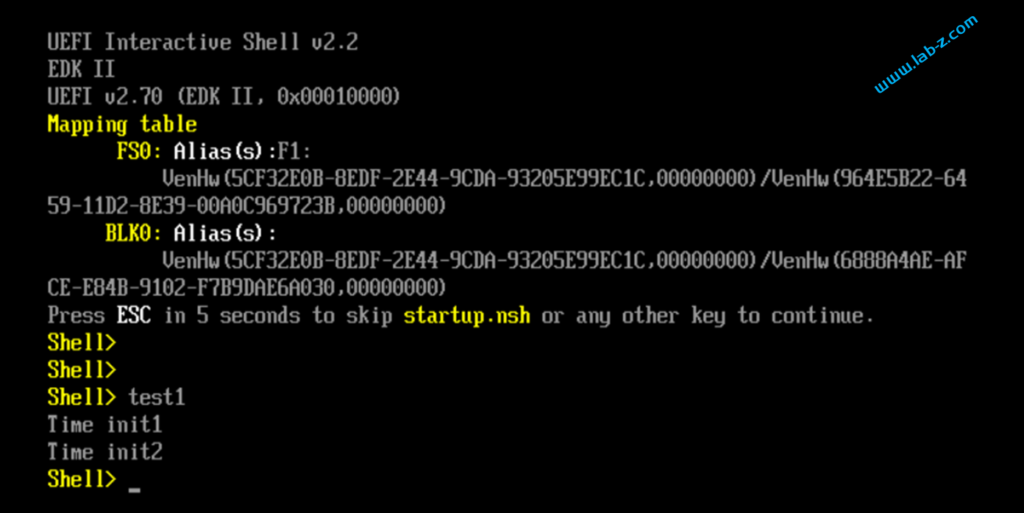
上述代码运行结果如下:
此外,还有析构函数,与构造函数功能相反,析构函数不是完成对对象本身的销毁,局部对象销毁工作是由编译器完成的。而对象在销毁时会自动调用析构函数,完成对象中资源的清理工作。
有兴趣的朋友可以自行研究。
参考:
- https://blog.csdn.net/qq_35243382/article/details/124369838
- https://blog.csdn.net/qq_39117115/article/details/133484338