前面介绍了,用CLib我们可以编写出普通C语言一样的代码。入口是 main (int Argc, char **Argv),但是如何获得当前的 ImageHandle 呢?【参考1】给出了一个答案。查看实际的入口ShellCEntryLib (ShellPkg\Library\UefiShellCEntryLib\UefiShellCEntryLib.c)
EFI_STATUS
EFIAPI
ShellCEntryLib (
  IN EFI_HANDLE        ImageHandle,
  IN EFI_SYSTEM_TABLE  *SystemTable
  )
{
  INTN                           ReturnFromMain;
  EFI_SHELL_PARAMETERS_PROTOCOL *EfiShellParametersProtocol;
  EFI_SHELL_INTERFACE           *EfiShellInterface;
  EFI_STATUS                    Status;
就是说 Shell Call进来的时候实际上和普通的EFI 程序没有差别,都是给了ImageHandle的,只是后面调用的时候去掉了。调用的顺序是 ShellCEntryLib –> ShellAppMain –> main.c(自己写的),所以如果我们能够加入一个参数,那么可以直接把ImageHandle传进去。
那就手动加入这个参数吧,需要修改的文件和内容如下:
1. ShellPkg\Library\UefiShellCEntryLib\UefiShellCEntryLib.c
if (!EFI_ERROR(Status)) {
    //
    // use shell 2.0 interface
    //
    ReturnFromMain = ShellAppMain (
					   ImageHandle,  //
2. ShellPkg\Inlcude\Library\ShellCEntryLib.h
INTN
EFIAPI
ShellAppMain (
  IN EFI_HANDLE        ImageHandle, //
3. StdLib\LibC\Main\Main.c
INTN
EFIAPI
ShellAppMain (
IN EFI_HANDLE ImageHandle, //<——-Added
IN UINTN Argc,
IN CHAR16 **Argv
)
4.我们自己的程序 main.c ,和之前文章提到的只有main被修改了
/** @file
A simple, basic, application showing how the Hello application could be
built using the "Standard C Libraries" from StdLib.
Copyright (c) 2010 - 2011, Intel Corporation. All rights reserved.<BR>
This program and the accompanying materials
are licensed and made available under the terms and conditions of the BSD License
which accompanies this distribution. The full text of the license may be found at
http://opensource.org/licenses/bsd-license.
THE PROGRAM IS DISTRIBUTED UNDER THE BSD LICENSE ON AN "AS IS" BASIS,
WITHOUT WARRANTIES OR REPRESENTATIONS OF ANY KIND, EITHER EXPRESS OR IMPLIED.
**/
#include <Uefi.h>
#include <Library/UefiLib.h>
#include <Library/ShellCEntryLib.h>
#include <stdio.h>
#include <stdlib.h>
#include <wchar.h>
extern EFI_BOOT_SERVICES *gBS;
extern EFI_SYSTEM_TABLE *gST;
extern EFI_RUNTIME_SERVICES *gRT;
//SimpleTextInputEx.harderr
//#define EFI_SHIFT_STATE_VALID 0x80000000
//#define EFI_LEFT_CONTROL_PRESSED 0x00000002
EFI_STATUS
EFIAPI
NotificationFunction(
IN EFI_KEY_DATA *KeyData
)
{
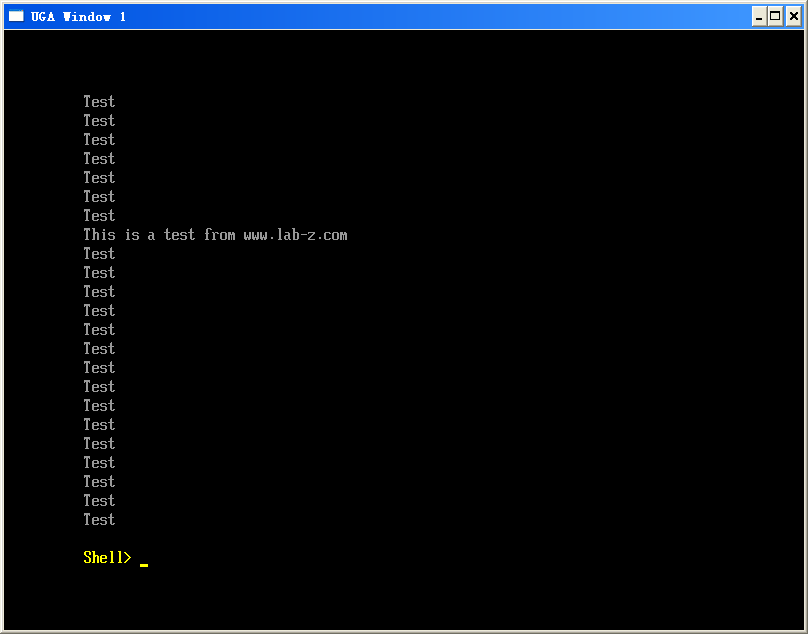
printf("This is a test from www.lab-z.com \n");
return(EFI_SUCCESS);
}
/***
Demonstrates basic workings of the main() function by displaying a
welcoming message.
Note that the UEFI command line is composed of 16-bit UCS2 wide characters.
The easiest way to access the command line parameters is to cast Argv as:
wchar_t **wArgv = (wchar_t **)Argv;
@retval 0 The application exited normally.
@retval Other An error occurred.
***/
int
EFIAPI
main (
IN EFI_HANDLE ImageHandle, //
之后还是使用 build –a IA32 –p AppPkg\AppPkg.dsc 来编译,之前如果里面还有编译器他的Application,那么需要从 AppPkg.dsc中先去掉其余的Application。
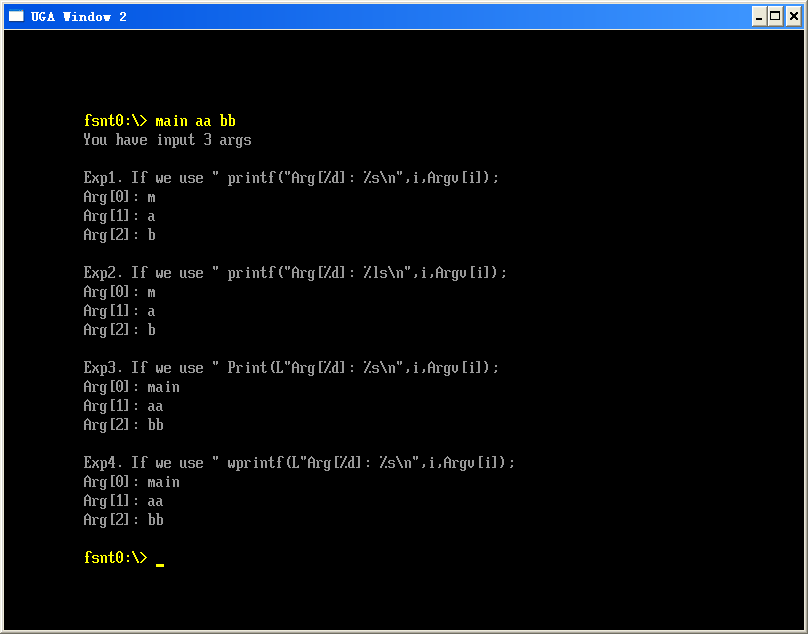
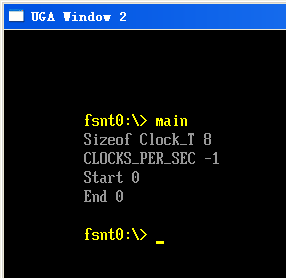
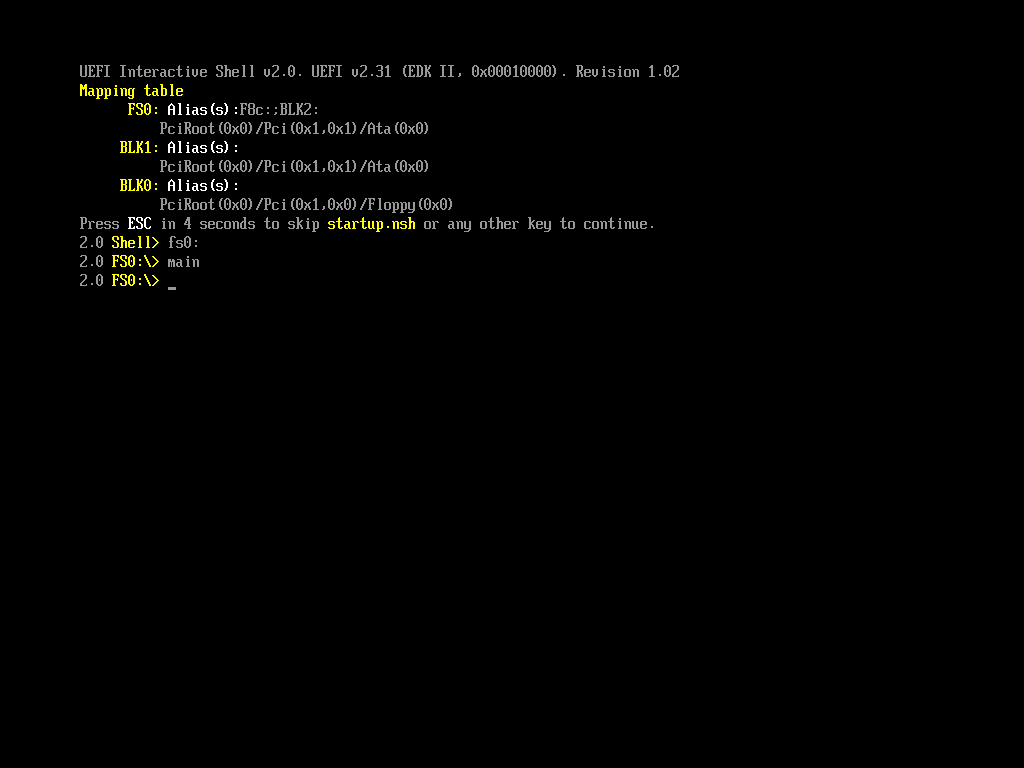
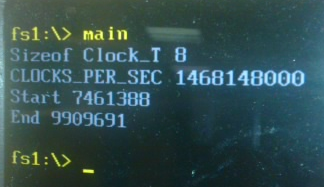
编译之,通过;运行之和之前的结果一样,好用。

本文提到的程序可以在这里下载
Main
上面的程序看起来有些复杂,还会破坏自己的编译环境,后面我会继续研究找到更好的解决方法。就是这样。
参考:
1. 论坛上有人提出了类似的问题
http://biosren.com/viewthread.php?tid=4651&highlight=ShellCentrylib
一直有這個疑問~
目前寫的Shell APP的進入點,參數都是argc,argv
那要怎麼得到他的ImageHandle呢?
UefiShellCEntryLib.c
EFI_STATUS
EFIAPI
ShellCEntryLib (
IN EFI_HANDLE ImageHandle,
IN EFI_SYSTEM_TABLE *SystemTable
)
MyShellApp.c
INTN
EFIAPI
ShellAppMain (
IN UINTN Argc,
IN CHAR16 **Argv
)