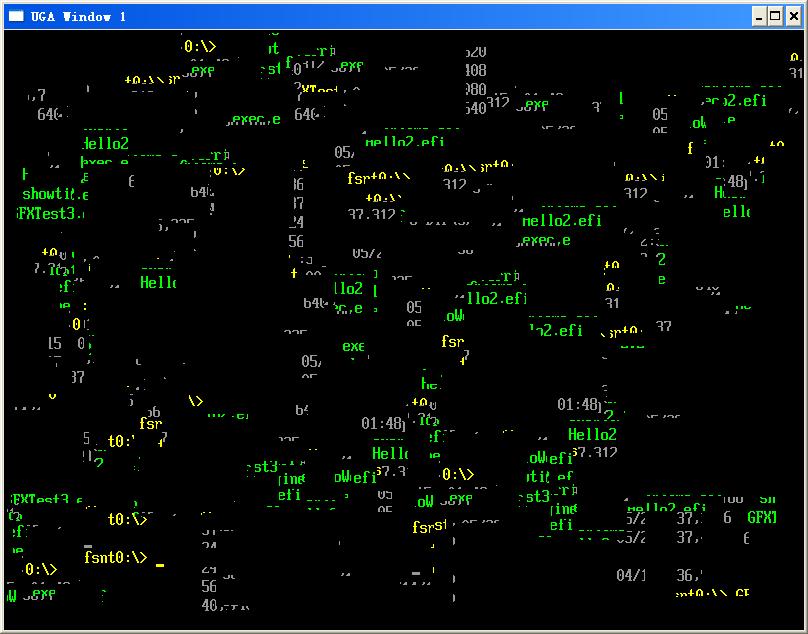
前面实验了颜色填充,这里实验一下屏幕的拷贝。测试很简单,就是屏幕上一个区域的内容copy到另外的位置.

代码如下:
#include  <Uefi.h>
#include  <Library/UefiLib.h>
#include  <Library/ShellCEntryLib.h>

#include  <stdio.h>
#include  <stdlib.h>
#include  <wchar.h>
#include  <time.h>
#include <Protocol/EfiShell.h>
#include <Library/ShellLib.h>

#include <Protocol/SimpleFileSystem.h>
#include <Protocol/BlockIo.h>
#include <Library/DevicePathLib.h>
#include <Library/HandleParsingLib.h>
#include <Library/SortLib.h>
#include <Library/MemoryAllocationLib.h>
#include <Library/BaseMemoryLib.h>

#include <Protocol/LoadedImage.h>


extern EFI_BOOT_SERVICES         *gBS;
extern EFI_SYSTEM_TABLE			 *gST;
extern EFI_RUNTIME_SERVICES 	 *gRT;

extern EFI_SHELL_ENVIRONMENT2    *mEfiShellEnvironment2;
extern EFI_HANDLE				 gImageHandle;

static EFI_GUID GraphicsOutputProtocolGuid = EFI_GRAPHICS_OUTPUT_PROTOCOL_GUID;
static EFI_GRAPHICS_OUTPUT_PROTOCOL *GraphicsOutput = NULL;

//Copied from  C\MdePkg\Include\Protocol\UgaDraw.h
typedef struct {
  UINT8 Blue;
  UINT8 Green;
  UINT8 Red;
  UINT8 Reserved;
} EFI_UGA_PIXEL;


int
EFIAPI
main (
  IN int Argc,
  IN char **Argv
  )
{
    EFI_STATUS    Status;
    UINTN i;

    Status = gBS->LocateProtocol(&GraphicsOutputProtocolGuid, NULL, (VOID **) &GraphicsOutput);
    if (EFI_ERROR(Status)) {
        GraphicsOutput = NULL;
		Print(L"Loading Graphics_Output_Protocol error!\n");
		return EFI_SUCCESS;
	}

  for (i=0;i<100;i++) {
	GraphicsOutput->Blt(GraphicsOutput, NULL, EfiBltVideoToVideo,
                        rand() % (GraphicsOutput->Mode->Info->HorizontalResolution-100),
						rand() % (GraphicsOutput->Mode->Info->VerticalResolution-100) ,
						rand() % (GraphicsOutput->Mode->Info->HorizontalResolution-100),
						rand() % (GraphicsOutput->Mode->Info->VerticalResolution-100),
						100, 100, 0);
	gBS->Stall(50000);
  }


  return EFI_SUCCESS;

}
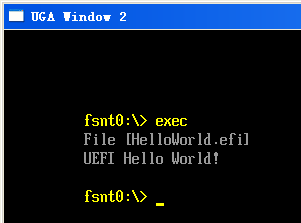
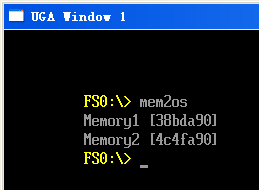
运行结果
工作视频:
http://www.tudou.com/programs/view/7gRxW6SqBKg/?resourceId=414535982_06_02_99
完整代码下载
当然,这个实验有些让人看不清楚,修改上面的程序,直接在屏幕上画色块
#include  <Uefi.h>
#include  <Library/UefiLib.h>
#include  <Library/ShellCEntryLib.h>

#include  <stdio.h>
#include  <stdlib.h>
#include  <wchar.h>
#include  <time.h>
#include <Protocol/EfiShell.h>
#include <Library/ShellLib.h>

#include <Protocol/SimpleFileSystem.h>
#include <Protocol/BlockIo.h>
#include <Library/DevicePathLib.h>
#include <Library/HandleParsingLib.h>
#include <Library/SortLib.h>
#include <Library/MemoryAllocationLib.h>
#include <Library/BaseMemoryLib.h>

#include <Protocol/LoadedImage.h>


extern EFI_BOOT_SERVICES         *gBS;
extern EFI_SYSTEM_TABLE			 *gST;
extern EFI_RUNTIME_SERVICES 	 *gRT;

extern EFI_SHELL_ENVIRONMENT2    *mEfiShellEnvironment2;
extern EFI_HANDLE				 gImageHandle;

static EFI_GUID GraphicsOutputProtocolGuid = EFI_GRAPHICS_OUTPUT_PROTOCOL_GUID;
static EFI_GRAPHICS_OUTPUT_PROTOCOL *GraphicsOutput = NULL;

//Copied from  C\MdePkg\Include\Protocol\UgaDraw.h
typedef struct {
  UINT8 Blue;
  UINT8 Green;
  UINT8 Red;
  UINT8 Reserved;
} EFI_UGA_PIXEL;


int
EFIAPI
main (
  IN int Argc,
  IN char **Argv
  )
{
    EFI_STATUS    Status;
    UINTN i;
	EFI_GRAPHICS_OUTPUT_BLT_PIXEL FillColor;

    Status = gBS->LocateProtocol(&GraphicsOutputProtocolGuid, NULL, (VOID **) &GraphicsOutput);
    if (EFI_ERROR(Status)) {
        GraphicsOutput = NULL;
		Print(L"Loading Graphics_Output_Protocol error!\n");
		return EFI_SUCCESS;
	}

  for (i=0;i<100;i++) {
    FillColor.Blue=rand() % 256;
	FillColor.Red=rand() % 256;
	FillColor.Green=rand() % 256;

	GraphicsOutput->Blt(GraphicsOutput, &FillColor, EfiBltVideoFill,
                0,
				0 ,
				rand() % (GraphicsOutput->Mode->Info->HorizontalResolution-100),
				rand() % (GraphicsOutput->Mode->Info->VerticalResolution-100),
				100, 100, 0);
	gBS->Stall(50000);
  }


  return EFI_SUCCESS;

}
运行结果

工作视频:
http://www.tudou.com/programs/view/VSbFaN1XBZc/?resourceId=414535982_06_02_99
完整代码下载
参考:
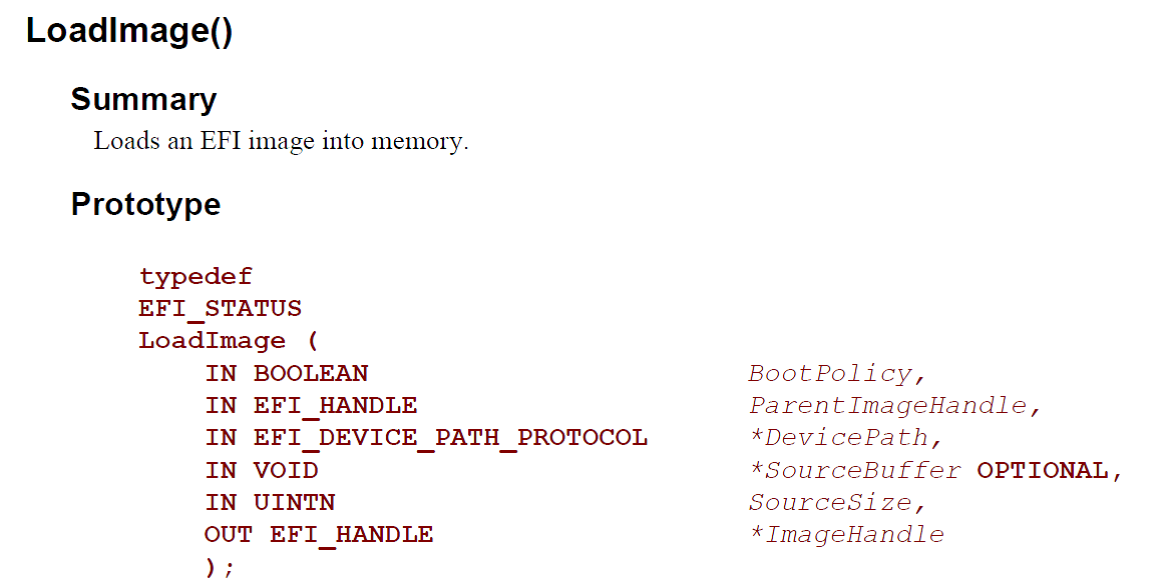
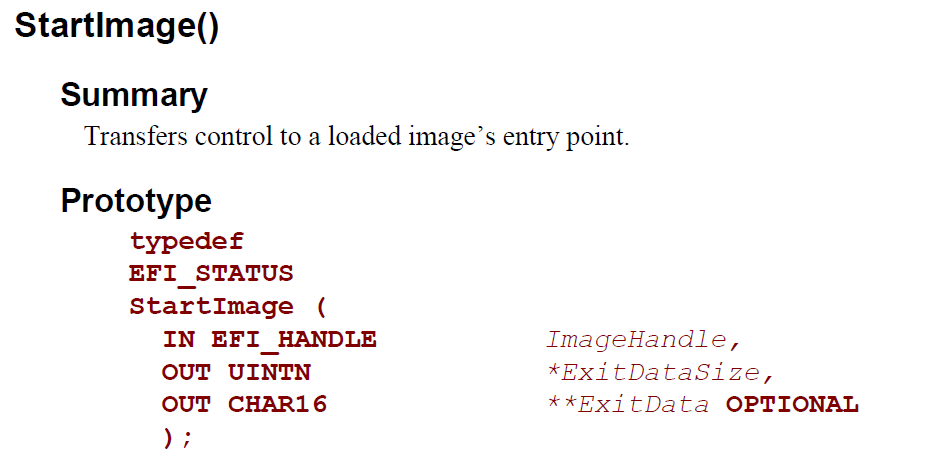
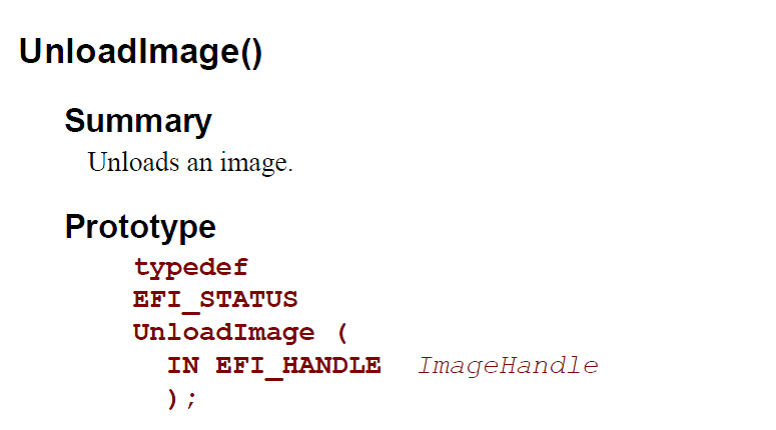
1. UEFI SPEC 2.4 P498
2. 本文参考 https://github.com/chengs 的代码