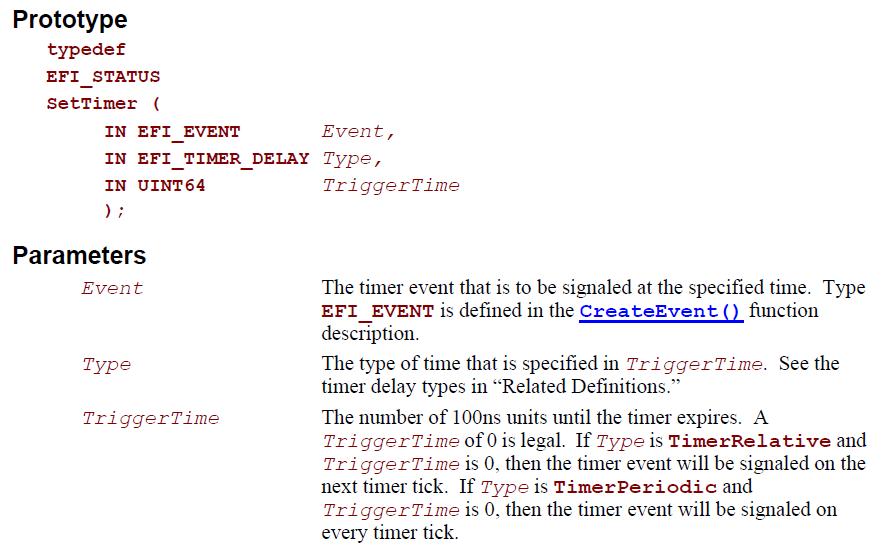
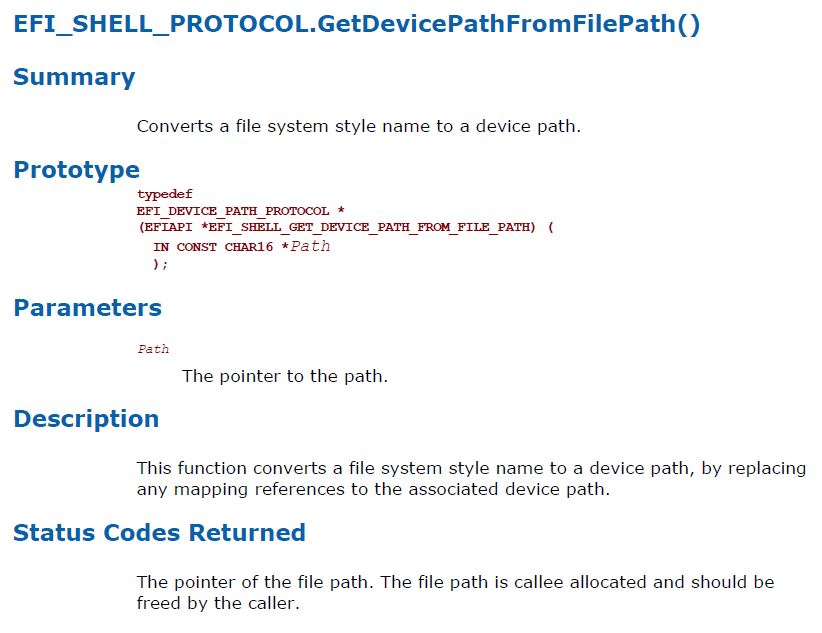
在 EFI_SHELL_PROTOCOL 中提供了 EfiShellGetDevicePathFromFilePath 函数
具体可以在 \ShellPkg\Application\Shell\ShellProtocol.h 看到原型
/**
Converts a file system style name to a device path.
This function converts a file system style name to a device path, by replacing any
mapping references to the associated device path.
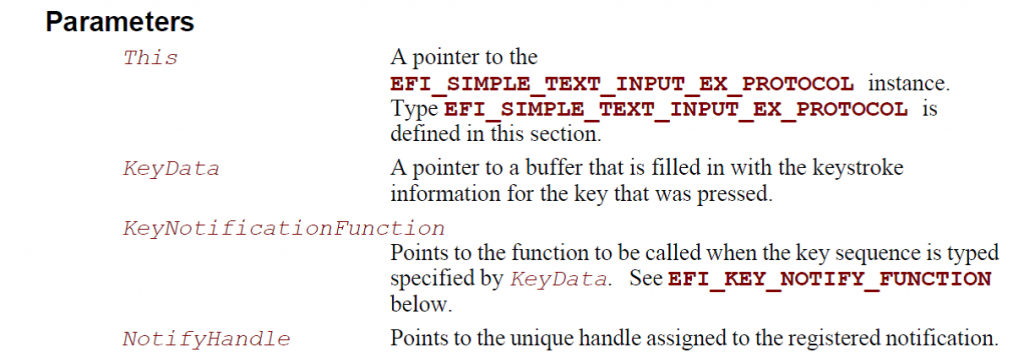
@param[in] Path The pointer to the path.
@return The pointer of the file path. The file path is callee
allocated and should be freed by the caller.
@retval NULL The path could not be found.
@retval NULL There was not enough available memory.
**/
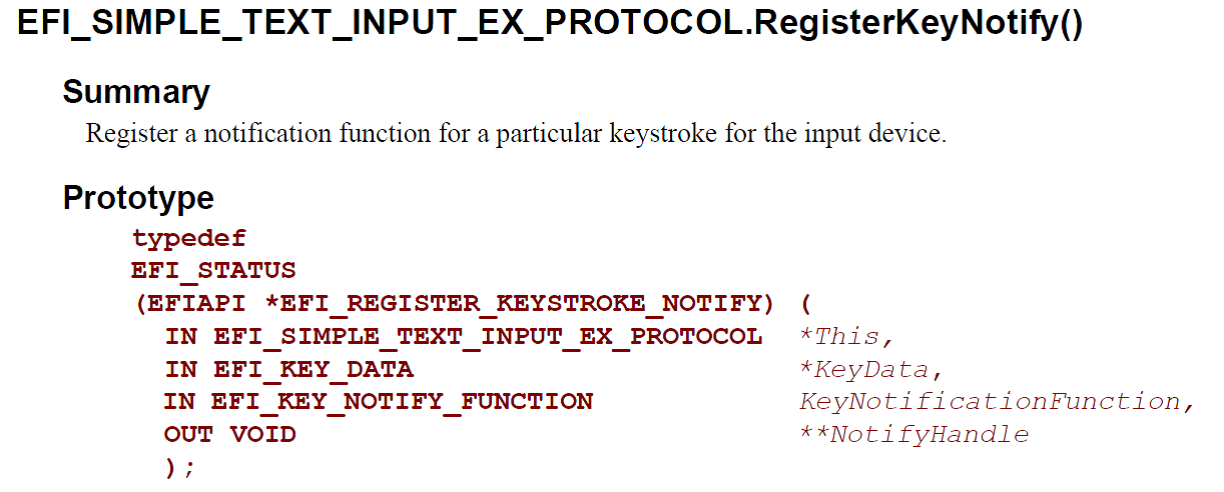
EFI_DEVICE_PATH_PROTOCOL *
EFIAPI
EfiShellGetDevicePathFromFilePath(
IN CONST CHAR16 *Path
)
在【参考1】中,可以看到下面的介绍
经过试验,这个函数结合之前我们获得当前目录的函数完全可以达到目标。但是,如同【参考2】提到的,某些情况下,因为 Shell 不提供 EFI_SHELL_PROTOCOL,这个函数无法使用。
再查查 EFI_SHELL_ENVIRONMENT2 发现其中有功能类似的 NameToPath 函数
Convert a file system style name to a device path.

This function will convert a shell path name to a Device Path Protocol path. This function will allocate any required memory for this operation and it is the responsibility of the caller to free that memory when no longer required.

If anything prevents the complete conversion free any allocated memory and return NULL.

Parameters
[in]	Path	The path to convert.
Return values
!NULL	A pointer to the callee allocated Device Path.
NULL	The operation could not be completed.
最后,决定仿照 ShellLib.h 中的 ShellGetCurrentDir,写一个混合上述两种函数的函数。最后的代码就是这样
#include <Uefi.h>
#include <Library/UefiLib.h>
#include <Library/ShellCEntryLib.h>
#include <stdio.h>
#include <stdlib.h>
#include <wchar.h>
#include <Protocol/EfiShell.h>
#include <Library/ShellLib.h>
extern EFI_BOOT_SERVICES *gBS;
extern EFI_SYSTEM_TABLE *gST;
extern EFI_RUNTIME_SERVICES *gRT;
extern EFI_SHELL_PROTOCOL *gEfiShellProtocol;
extern EFI_SHELL_ENVIRONMENT2 *mEfiShellEnvironment2;
/**
GET DEVICEPATH
**/
EFI_DEVICE_PATH_PROTOCOL *
EFIAPI
ShellGetDevicePath (
IN CHAR16 * CONST DeviceName OPTIONAL
)
{
//
// Check for UEFI Shell 2.0 protocols
//
if (gEfiShellProtocol != NULL) {
return (gEfiShellProtocol->GetDevicePathFromFilePath(DeviceName));
}
//
// Check for EFI shell
//
if (mEfiShellEnvironment2 != NULL) {
return (mEfiShellEnvironment2->NameToPath(DeviceName));
}
return (NULL);
}
int
EFIAPI
main (
IN int Argc,
IN char **Argv
)
{
EFI_DEVICE_PATH_PROTOCOL *DevicePath;
CHAR16 *R;
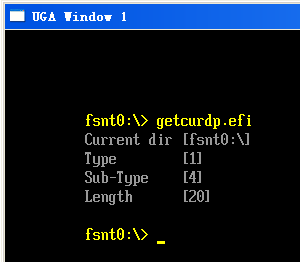
R=(CHAR16 *)ShellGetCurrentDir(NULL);
Print(L"Current dir [%s]\n",ShellGetCurrentDir(0));
DevicePath=ShellGetDevicePath(R);
Print(L"Type [%d]\nSub-Type [%d]\nLength [%d]\n",
DevicePath->Type,
DevicePath->SubType,
DevicePath->Length[0] + DevicePath->Length[1]*256);
return EFI_SUCCESS;
}
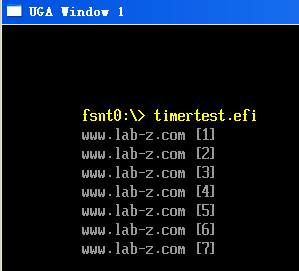
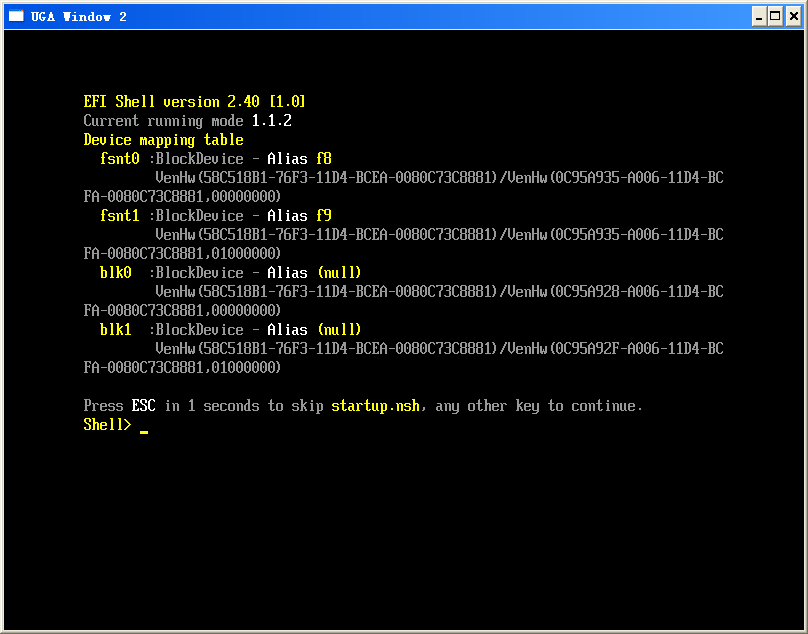
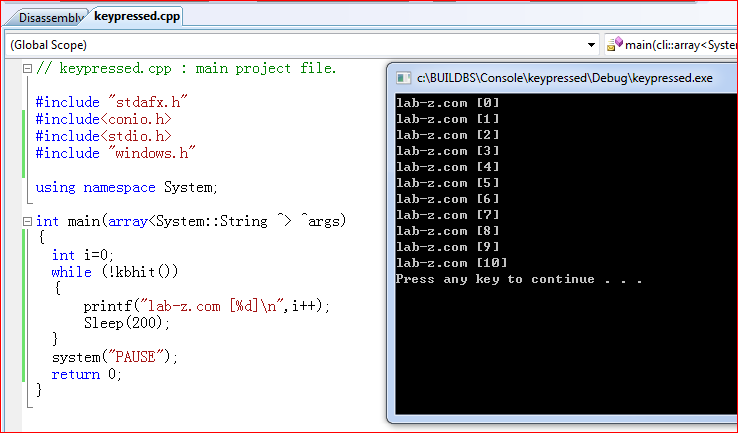
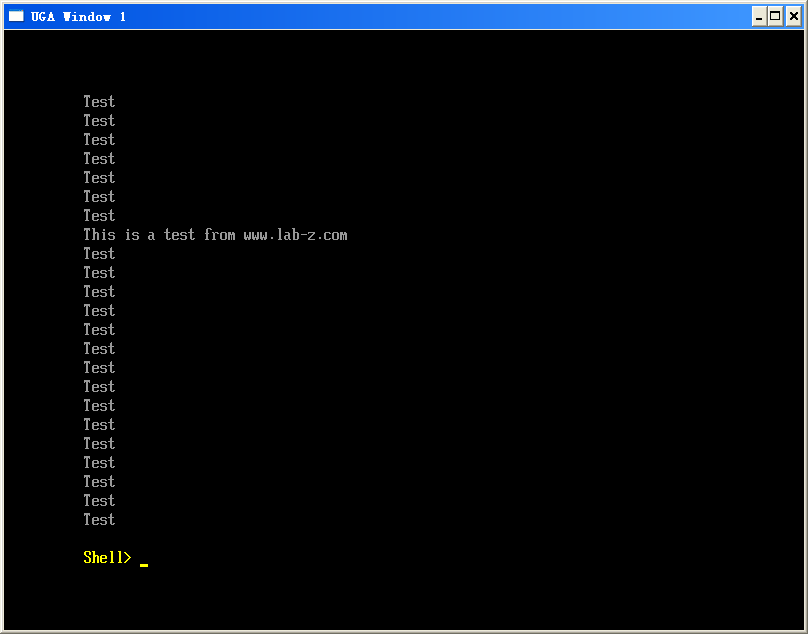
运行结果
代码下载
参考:
1.UEFI_Shell_Spec_2_1_July02release P28
2.http://www.lab-z.com/getcurdir2/ Shell GetCurDir 补遗
3.http://www.bluestop.org/edk2/docs/UDK2010.SR1/struct_e_f_i___s_h_e_l_l___e_n_v_i_r_o_n_m_e_n_t2.html EFI_SHELL_ENVIRONMENT2 Struct Reference