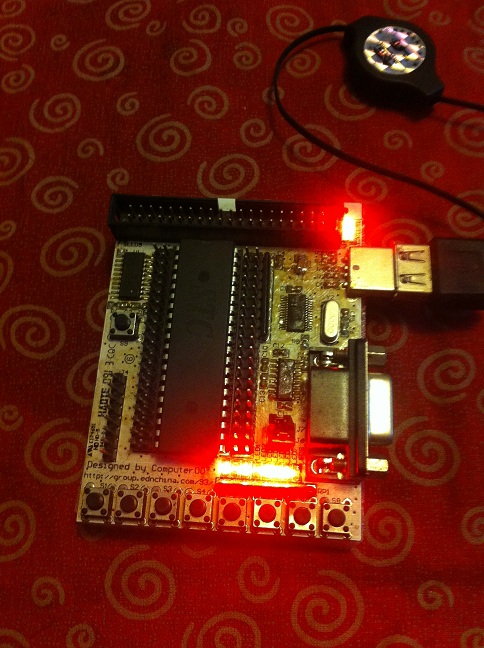
《圈圈教你玩USB》 第五章 提到可以自己设计一个HID设备,于是,进行实验,刷新他的 Firmware 运行他的测试程序,在 Win7 3和64 下都不需要安装驱动程序,直接使用应用程序即可。
《圈圈教你玩USB》 第五章 带的 Firmware 程序和Windows下的应用程序:
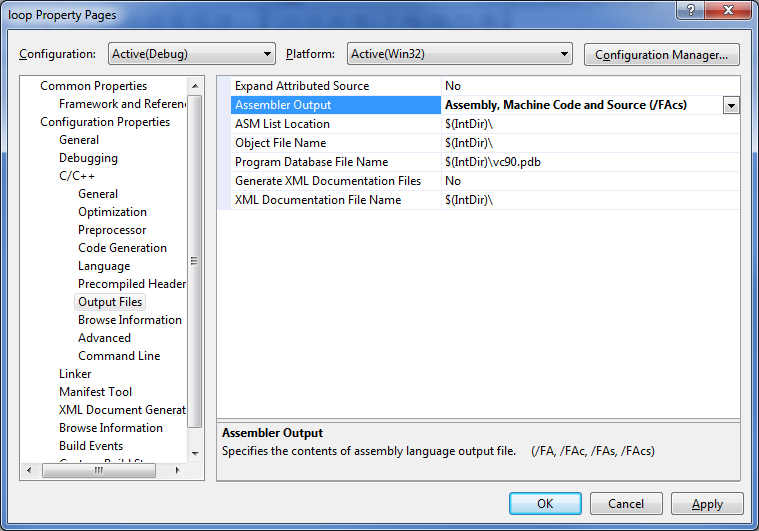
自己动手直接编写一个 VS2008 程序来对这个设备发送数据(主要是我一直没法再 VS2008下成功编译他的Application)
//http://blog.csdn.net/xuxinhua/article/details/6329182
#include "stdafx.h"
#include <stdio.h>
#include <tchar.h>
#include <windows.h>
#include <setupapi.h>
extern "C" {
void __stdcall
HidD_GetHidGuid (
OUT LPGUID HidGuid
);
typedef struct _HIDD_ATTRIBUTES {
ULONG Size; // = sizeof (struct _HIDD_ATTRIBUTES)
//
// Vendor ids of this hid device
//
USHORT VendorID;
USHORT ProductID;
USHORT VersionNumber;
//
// Additional fields will be added to the end of this structure.
//
} HIDD_ATTRIBUTES, *PHIDD_ATTRIBUTES;
BOOLEAN __stdcall
HidD_GetAttributes (
IN HANDLE HidDeviceObject,
OUT PHIDD_ATTRIBUTES Attributes
);
}
#pragma comment( lib, "hid.lib" )
#pragma comment( lib, "setupapi.lib" )
int main(array<System::String ^> ^args)
{
GUID HidGuid;
BOOL Result;
//获取HID设备的接口类GUDI
HidD_GetHidGuid(&HidGuid);
//输出一下看看GUID
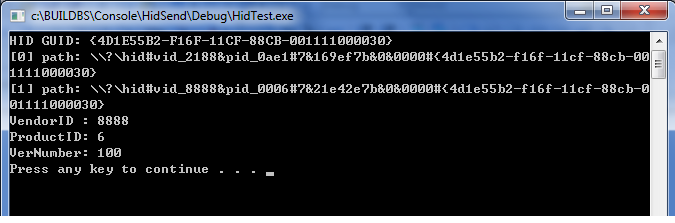
printf("HID GUID: {%08X-%04X-%04X-%02X%02X-%02X%02X%02X%02X%02X%02X}\n"
, HidGuid.Data1, HidGuid.Data2, HidGuid.Data3
, HidGuid.Data4[0], HidGuid.Data4[1], HidGuid.Data4[2], HidGuid.Data4[3], HidGuid.Data4[4]
, HidGuid.Data4[5], HidGuid.Data4[6], HidGuid.Data4[7] );
//根据获得的GUID枚举HID设备
HDEVINFO hDevInfo = SetupDiGetClassDevs( &HidGuid, NULL, 0, DIGCF_PRESENT|DIGCF_DEVICEINTERFACE );
if( INVALID_HANDLE_VALUE != hDevInfo )
{
SP_DEVICE_INTERFACE_DATA strtInterfaceData = { sizeof(SP_DEVICE_INTERFACE_DATA) };
for( DWORD index=0; SetupDiEnumDeviceInterfaces(hDevInfo,NULL,&HidGuid,index,&strtInterfaceData); ++index )
{
char buf[1000];
SP_DEVICE_INTERFACE_DETAIL_DATA& strtDetailData = (SP_DEVICE_INTERFACE_DETAIL_DATA&)buf[0];
strtDetailData.cbSize = sizeof(SP_DEVICE_INTERFACE_DETAIL_DATA);
if( SetupDiGetDeviceInterfaceDetail(hDevInfo,&strtInterfaceData,&strtDetailData,_countof(buf),NULL,NULL) )
{
printf("[%d] path: %ls\n", index, strtDetailData.DevicePath);
//这里打开的有可能是USB键盘鼠标这样比较特别的设备(只能查询)
HANDLE hUsb = CreateFile( strtDetailData.DevicePath,
NULL, FILE_SHARE_WRITE,
NULL, OPEN_EXISTING,
FILE_ATTRIBUTE_NORMAL|FILE_FLAG_OVERLAPPED,
NULL );
// 查询设备标识
HIDD_ATTRIBUTES strtAttrib = { sizeof(HIDD_ATTRIBUTES) };
Result=HidD_GetAttributes(hUsb,&strtAttrib);
//所以这里要关闭一下,后面找到我们自己的设备确定可以写入再打开一次
CloseHandle( hUsb );
if(TRUE==Result)
{
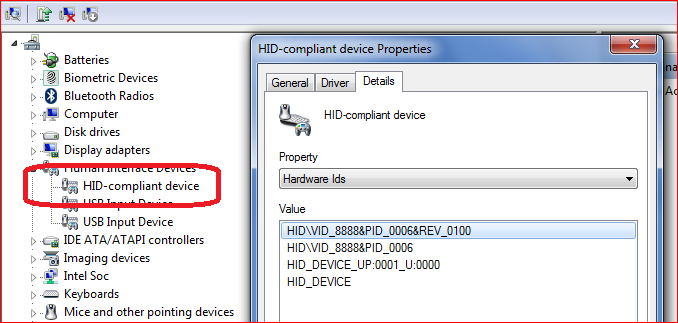
if ((0x8888==strtAttrib.VendorID) &&
(0x6==strtAttrib.ProductID)) //找到我们自己的设备
{
printf("VendorID : %hX\n", strtAttrib.VendorID );
printf("ProductID: %hX\n", strtAttrib.ProductID );
printf("VerNumber: %hX\n", strtAttrib.VersionNumber );
//确定是我们自己的设备,再打开一次,注意我们这里使用的是同步发送
hUsb = CreateFile( strtDetailData.DevicePath,
GENERIC_WRITE, FILE_SHARE_WRITE,
NULL, OPEN_EXISTING,
FILE_ATTRIBUTE_NORMAL, NULL );
//发送报告的缓冲区,1字节报告ID+8字节报告数据。
UCHAR WriteReportBuffer[9];
DWORD lpNumberOfBytesWritten;
UINT LastError;
WriteReportBuffer[0]=0x00;
WriteReportBuffer[1]=0x75;
//调用WriteFile函数发送数据
Result=WriteFile(hUsb,
WriteReportBuffer,
9,
&lpNumberOfBytesWritten,
NULL);
//如果函数返回失败,则可能是真的失败,也可能是IO挂起
if(Result==FALSE)
{
//获取最后错误代码
LastError=GetLastError();
//看是否是真的IO挂
if((LastError==ERROR_IO_PENDING)||(LastError==ERROR_SUCCESS))
{ return TRUE; }
//否则,是函数调用时发生错误,显示错误代码
else
{
printf("Sending error:%d \n",LastError);
//如果最后错误为1,说明该设备不支持该函数。
if(LastError==1)
{printf("This device doesn't support WriteFile function \n");}
}
}
CloseHandle( hUsb );
}//if ((0x8888==strtAttrib.VendorID) &&
} //if(TRUE==Result)
} // if( SetupDiGetDeviceInterfaceDetail(hDevInfo,&strtInterfaceData,&strtDetailData,_countof(buf),NULL,NULL) )
} //for( DWORD index=0;
if( GetLastError() != ERROR_NO_MORE_ITEMS )
{printf("No more items!\n"); }
SetupDiDestroyDeviceInfoList( hDevInfo );
} //if( INVALID_HANDLE_VALUE != hDevInfo )
system("PAUSE");
return 0;
}
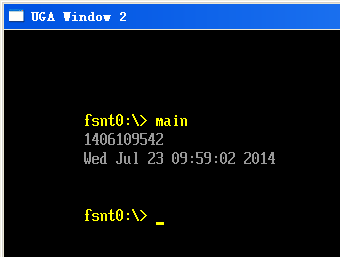
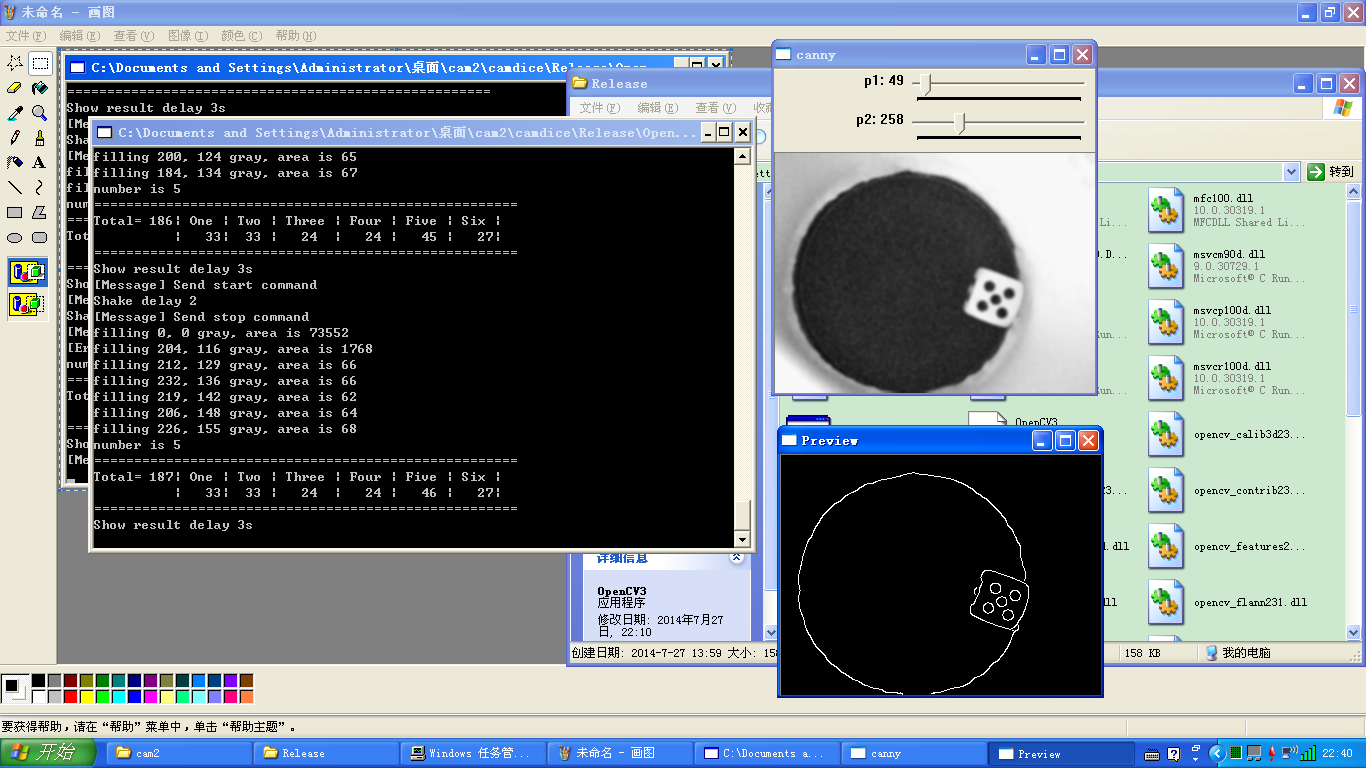
运行结果:
程序下载